
 Objective of this blog, will be to understand:
- What is Hardware Development Kit in Embedded (SDK).
- Different components in Hardware Development Kit in Embedded.
- Why there is need of Hardware Development Kit in Embedded.
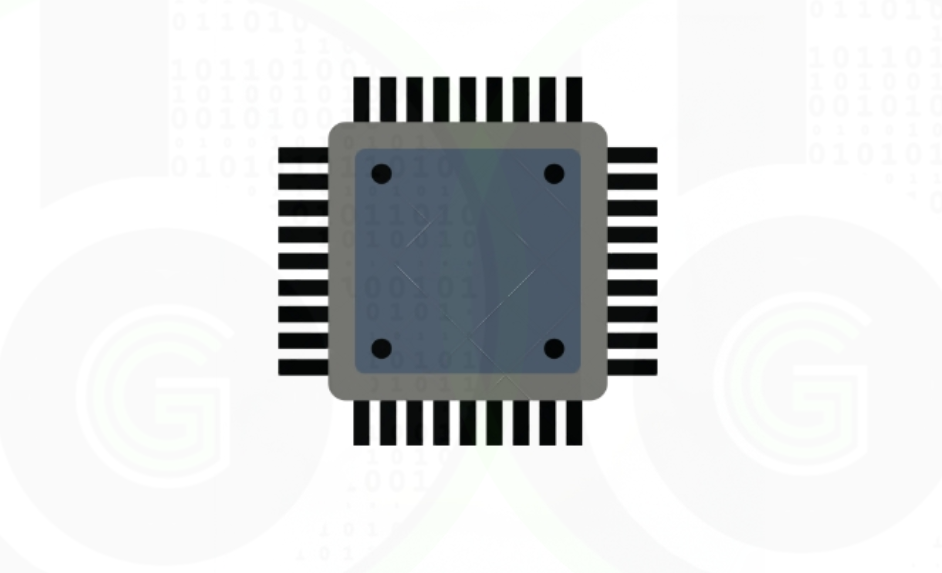
 Microcontroller/SoC
 In the last blog, all we talk about is microcontrollers, so refer to this blog to know what microcontrollers are.
Microcontroller and SoC word would be used quite inerchangibly throughout this blog and in subsequent blogs too. Difference between SoC and MCU is that. (SoC): SoC is a less well-defined term. A SoC is typically an encapsulation of one or more of CPUs, memory, micro-controllers, DSPs, accelerators, and supporting hardware; however, it does not adhere to any standards regarding its containing circuitry. An SoC is intended for applications with requirements that are too complex for a single MCU to handle.
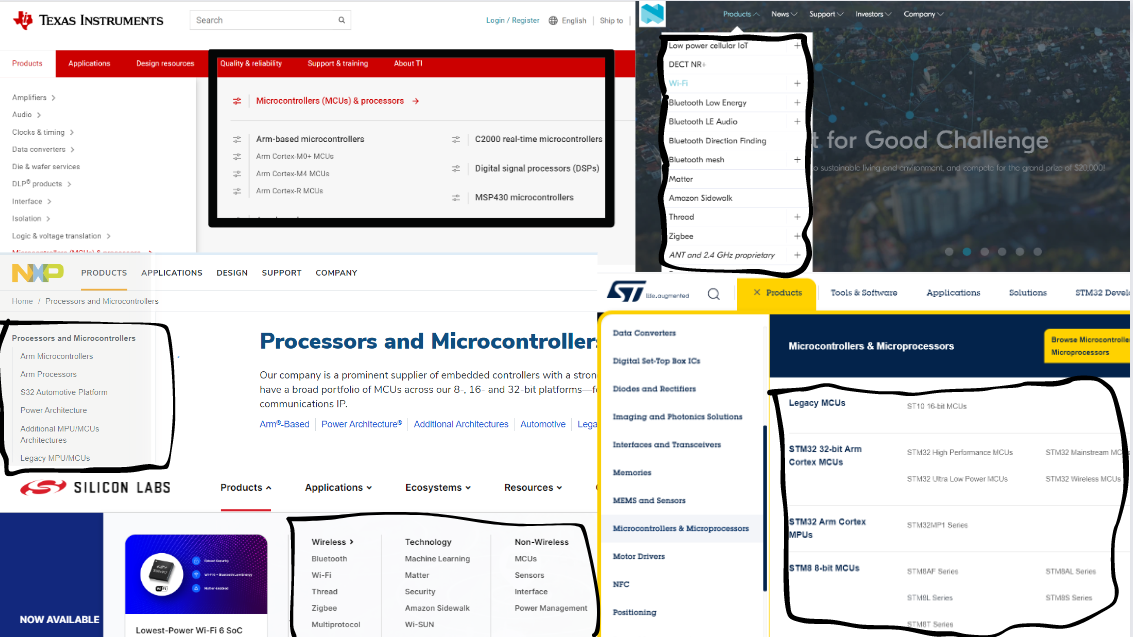
To explore about different microcontrollers best place is semiconductor company websites like and many others:
- NXP® Semiconductors Official Site | NXP Semiconductors
- Analog | Embedded processing | Semiconductor company | TI.com
- Silicon Labs (silabs.com)
- Nordic Semiconductor | Empowering Wireless Innovation – nordicsemi.com
- STMicroelectronics: Our technology starts with you
- and etc
Go to products page of these websites and then navigate to microcontroller-microprocessor section. You will find there are so many microcontrollers which have been categorized in terms of
- Either processor they have (ARM Cortex CPU based, 8 bit CPU based, or some proprietary CPU core)
- Or Microcontroller family name’s (Like LPC series, S32 Series, MSP430 series, Kinetic series, STM32 series)
- Application based( Digital signal processing, IoT protocol’s, peripheral and etc)
- and etc.
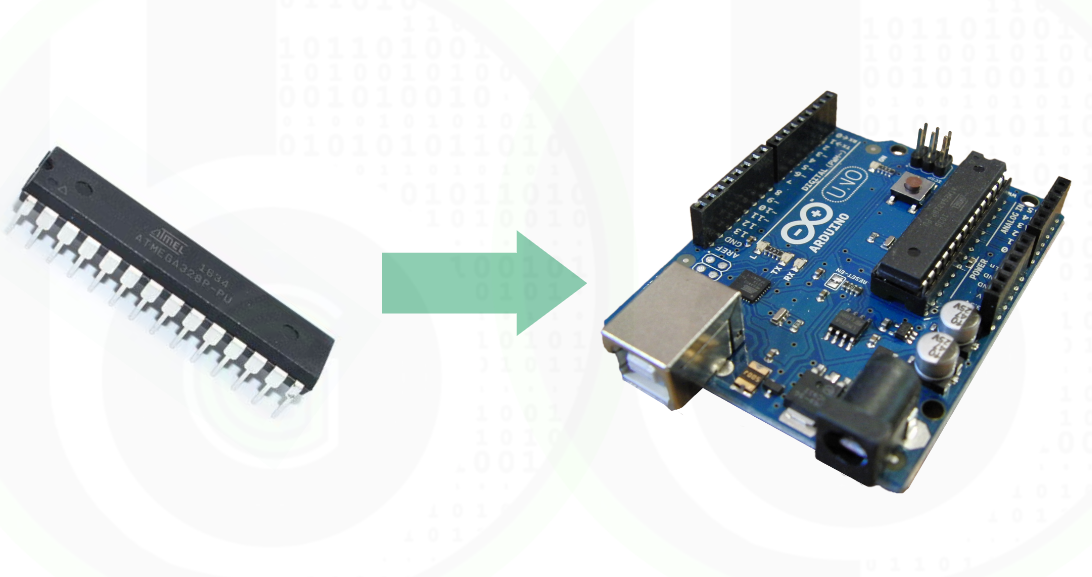
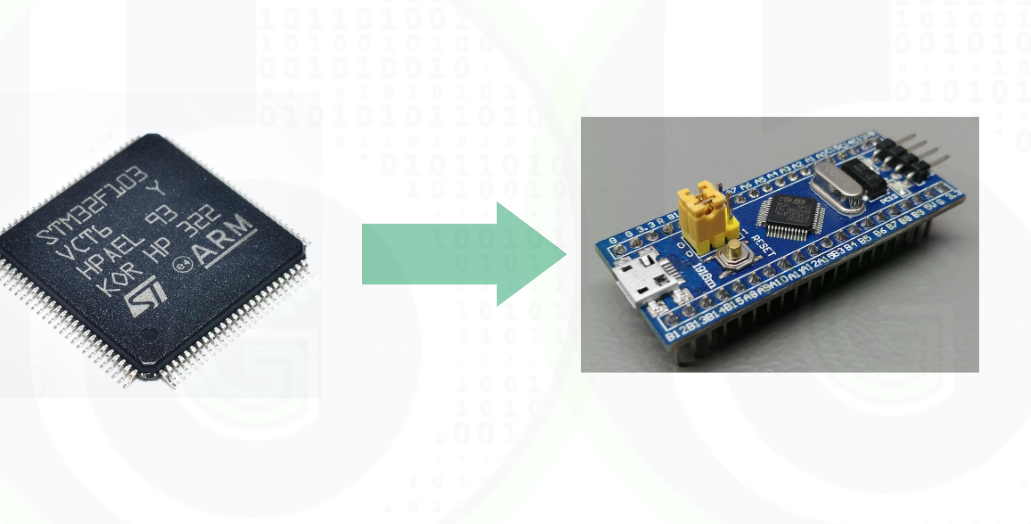
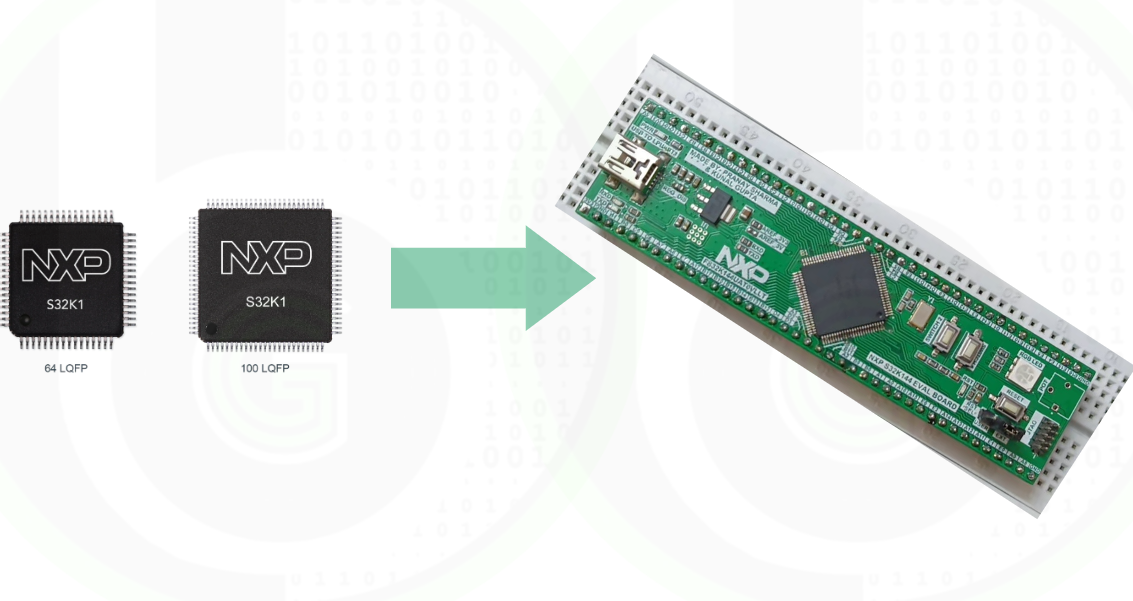
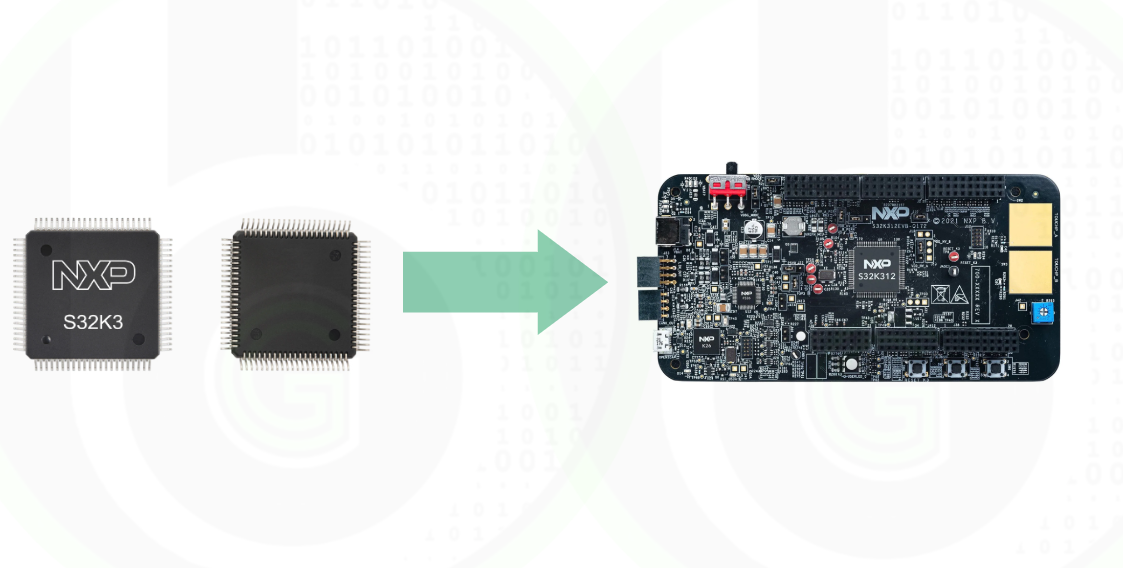
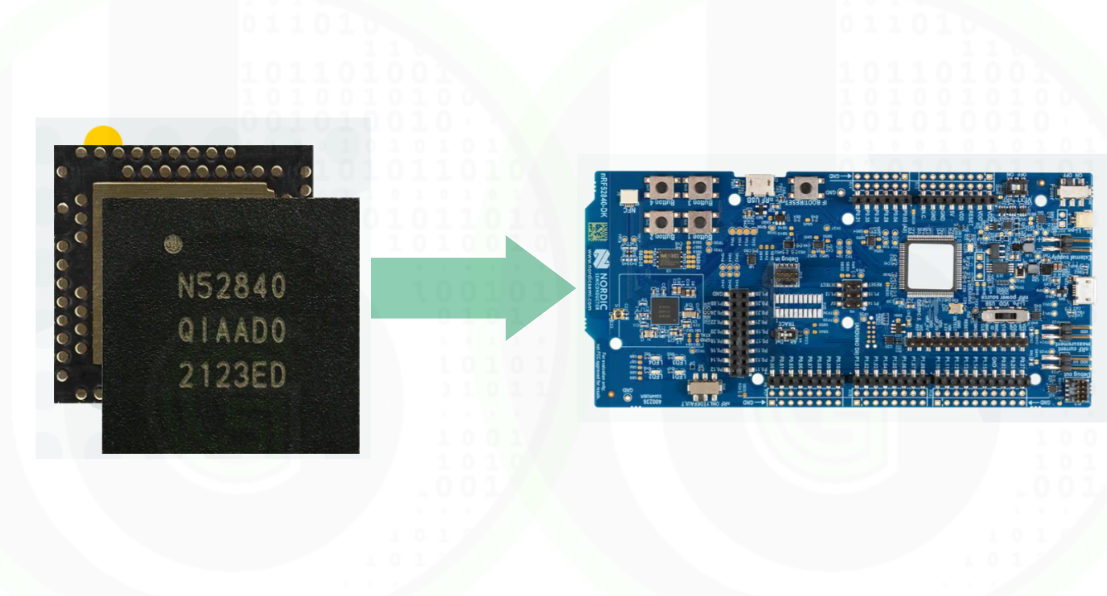
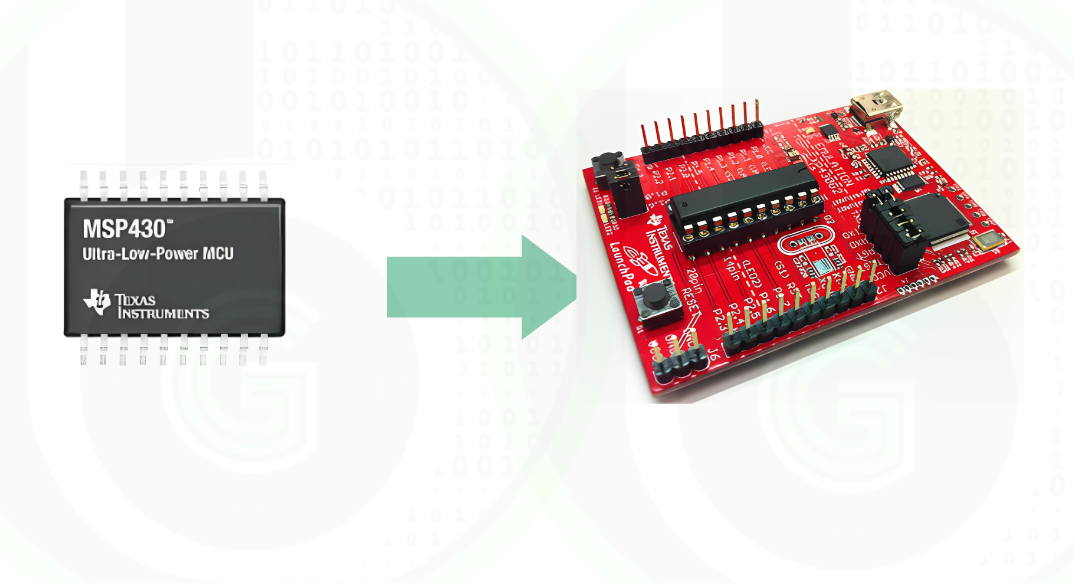
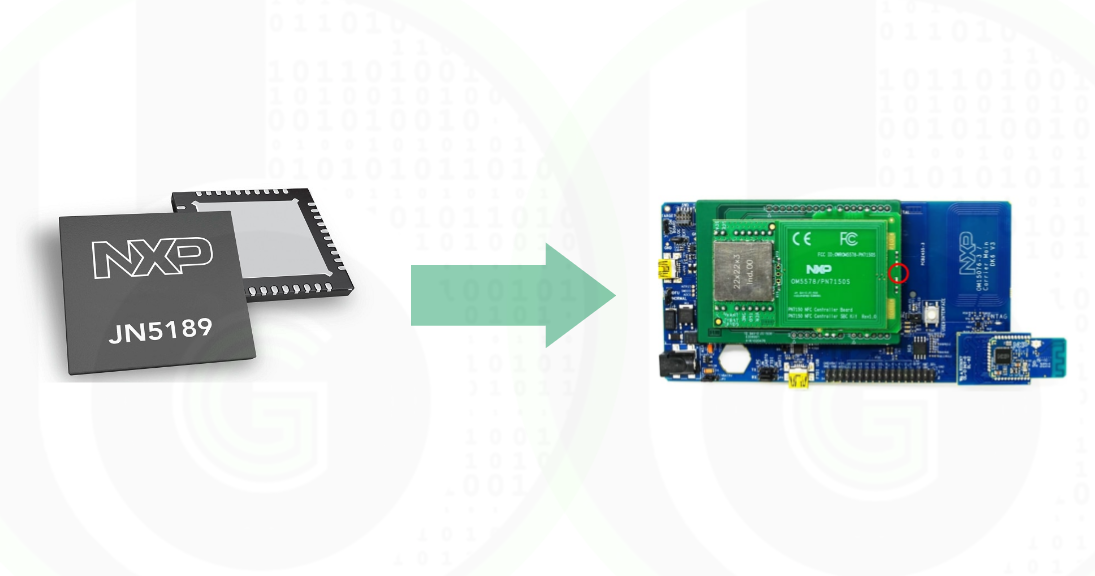
Microcontrollers/SoC can’t be used directly, for making projects or learning out the things. Microcontrollers comes in different packaging like BGA, DIP, QFN, QFP, SOP, SQP.
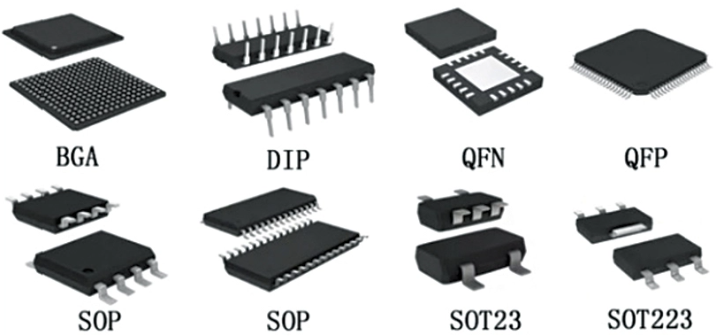
Every package takes up different amount of space. In these packages MCU pins are very small to use and in some packages of MCU, we cant even properly touch individual pins of the MCU (BGA and QFN). Now to connect some sensors/modules to the MCU, we need to connect them to the pins of the MCU. So, there is need of some hardware circuit by which we can expose all these pins of MCU in a way that they can be used for prototyping and developing the embedded application by connecting different sensor/modules. And thus, here comes the story of development boards.
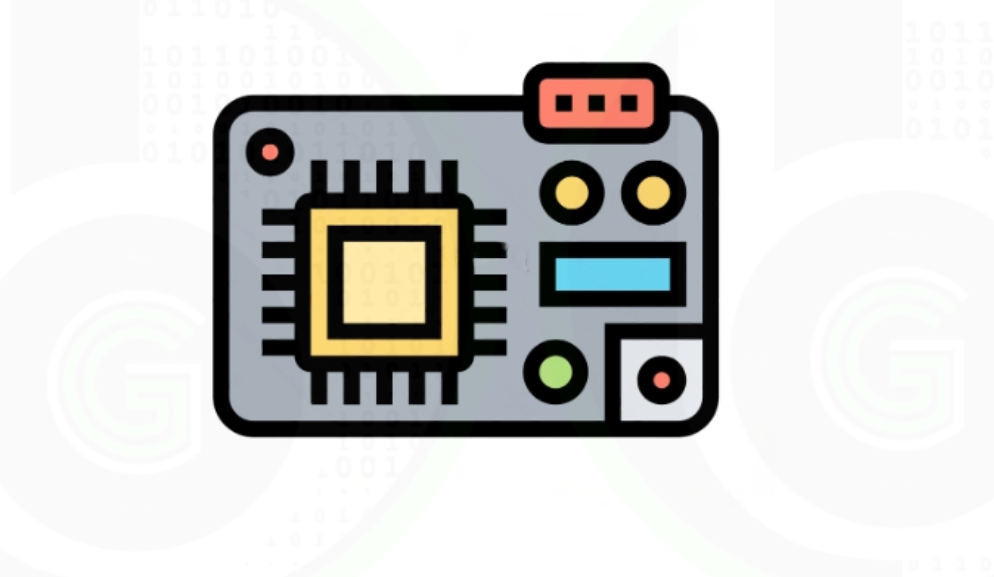
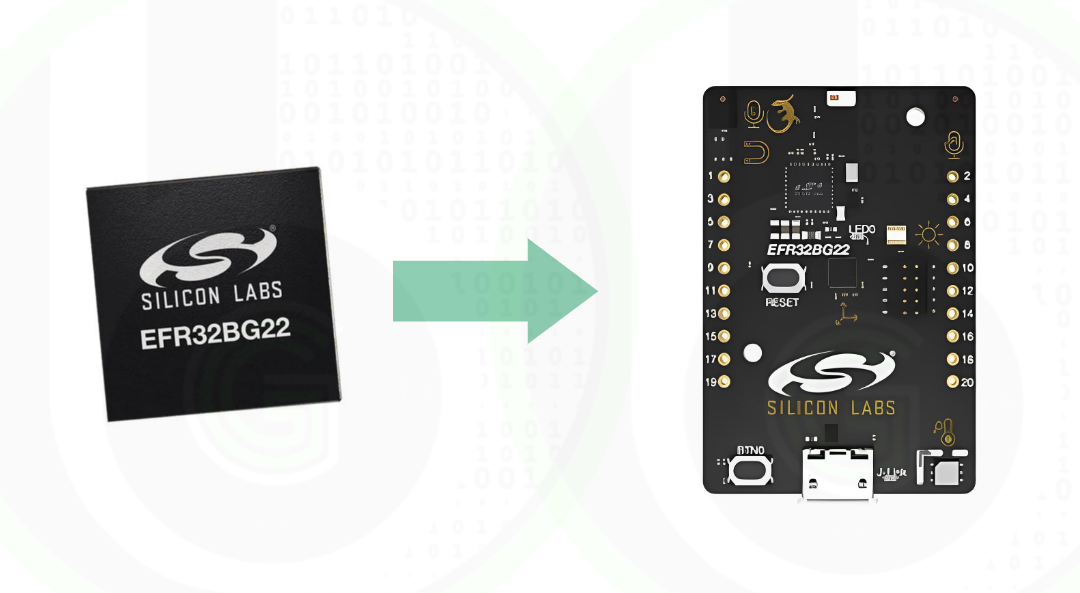
Development boards in the field of embedded systems refer to pre-built circuit boards designed to use the microcontrollers/SoC’s.
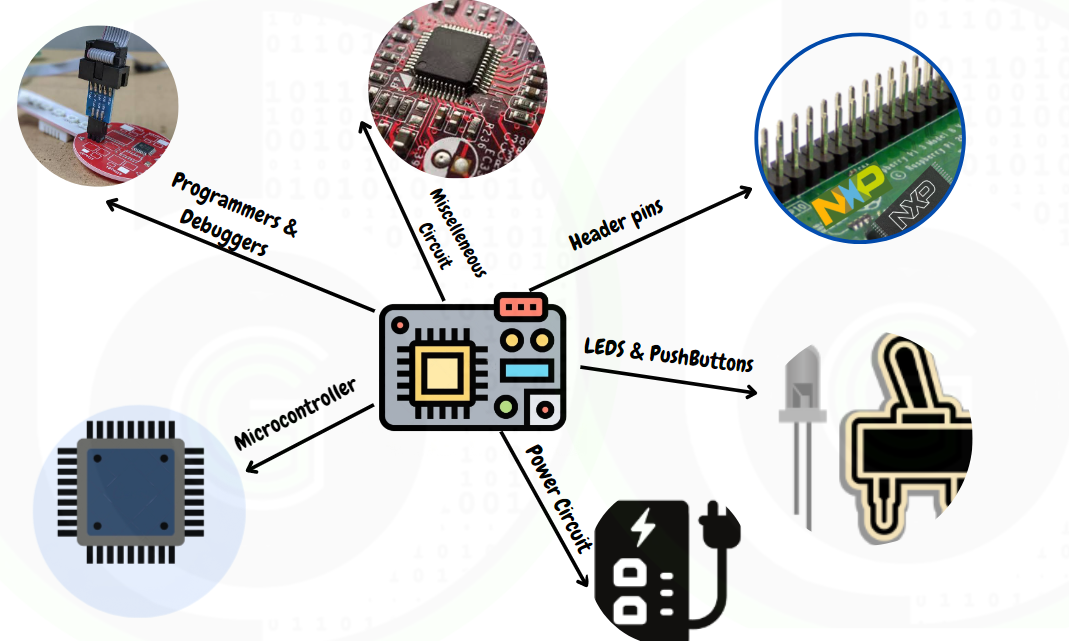
These boards typically include a microcontroller/SoC or microprocessor, along with essential components required to use the microcontroller like:
- Input/Output interfaces (Header pins, LEDs, Push buttons and etc.),
- Power regulators (For powering the MCU/SoC), and
- Miscellaneous circuit required for microcontroller functioning (oscillator circuit, pull-up/down resistors, decoupling capacitors and etc.)
- Debugging and programming feature.
 They provide a convenient platform for developers to test their code, interface with external devices, and evaluate the performance of their embedded system designs.
These development boards are extensively used among the college students, hobbyists for making DIY projects or learn the microcontroller coding by having hands-on over the microcontrollers using these kind of development boards.
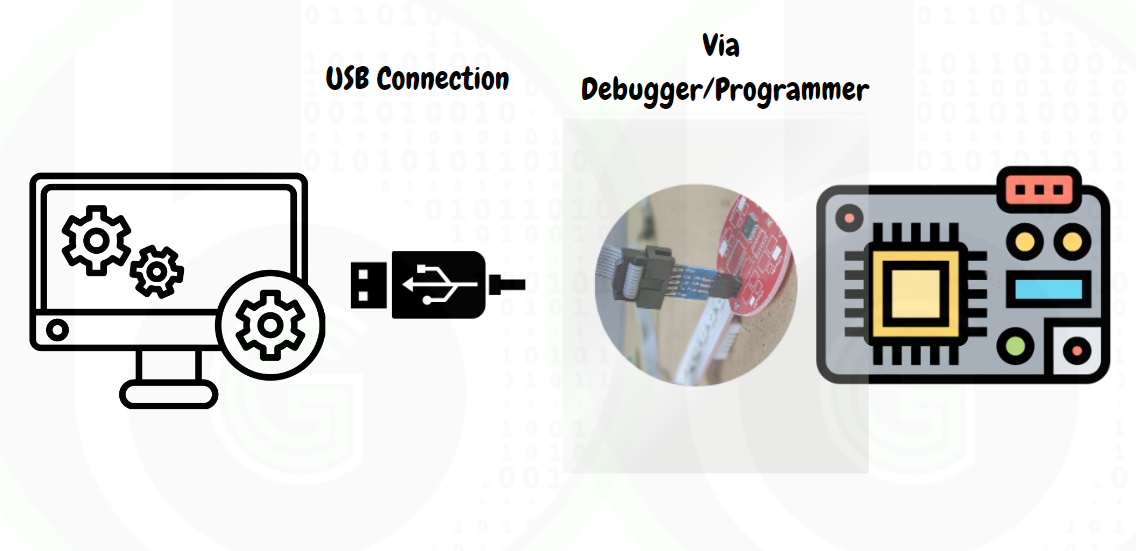
These development boards are connected to Host Desktop/Laptop through USB cable via Debugger/Programmer to program/debug the microcontrollers. Thus, these development board provide easy way to use microcontrollers/microprocessor/SoC.
 Now for every microcontroller there is a development board for using it. Development boards are designed either by the semiconductor companies itself for their corresponding MCU’s or by the Third-party vendors, like:

 For programming the microcontrollers as mentioned we need some form of debuggers and programmers. Debuggers and programmers are external hardware for microcontrollers. There are industry specified protocols like JTAG and SWD, through which microcontrollers are programmed and debugged. All the ARM cortex based MCU’s support the debugging feature in them via the SWD (Serial Wire Debug). More about debuggers in embedded is told on this blog.
In the debugger/programmer hardware there is a microcontroller which comes factory programmed with some code so as to transfer the code from laptop/desktop to the MCU memory.
For Programming the Microcontrollers, their is mandatory need of some Programmer/Debugger, that one can get to know from the webpage of corresponding microcontroller.
On some Development boards there are on board debuggers either JTAG support, or SWD support or proprietary debug interface of semiconductor company (like OpenSDA from NXP semiconductors, CC Debugger from Texas Instruments, STLINKV2/3 from STMicroelectronics, PICKit from Microchip, DEBUGADPTR1-USB from Silicon Labs and etc.).
Also, there are external debuggers like STLINKV2, OpenSDA Cyclone, Seger universal debugger, PEMicro . Which are used with developments that does not have on-board debug interface.
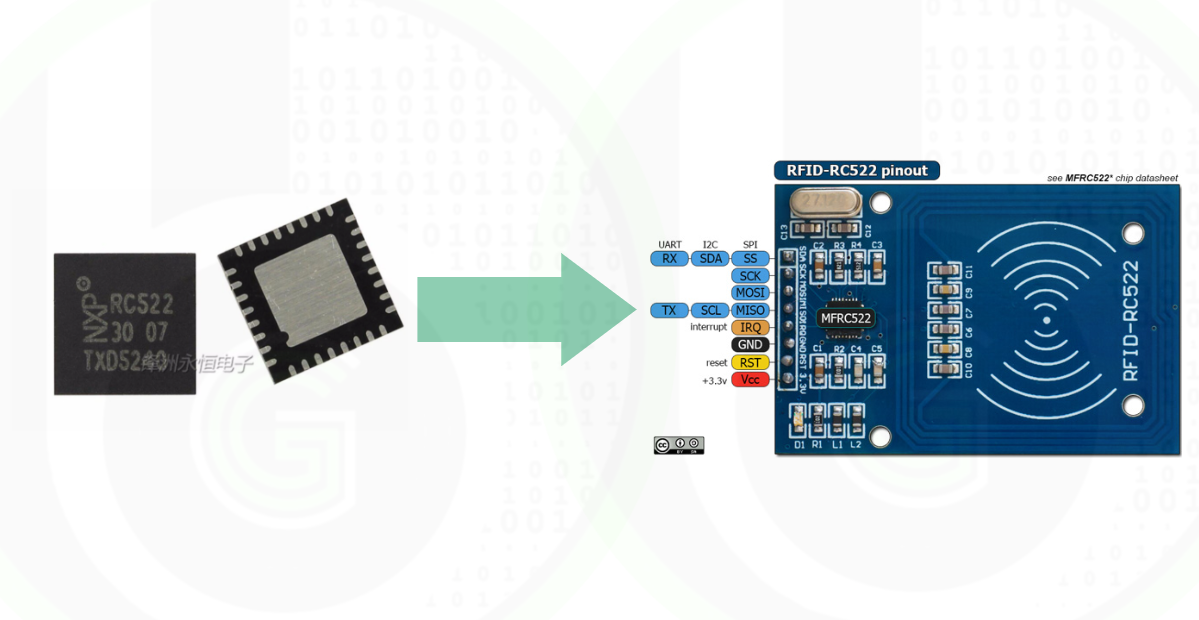
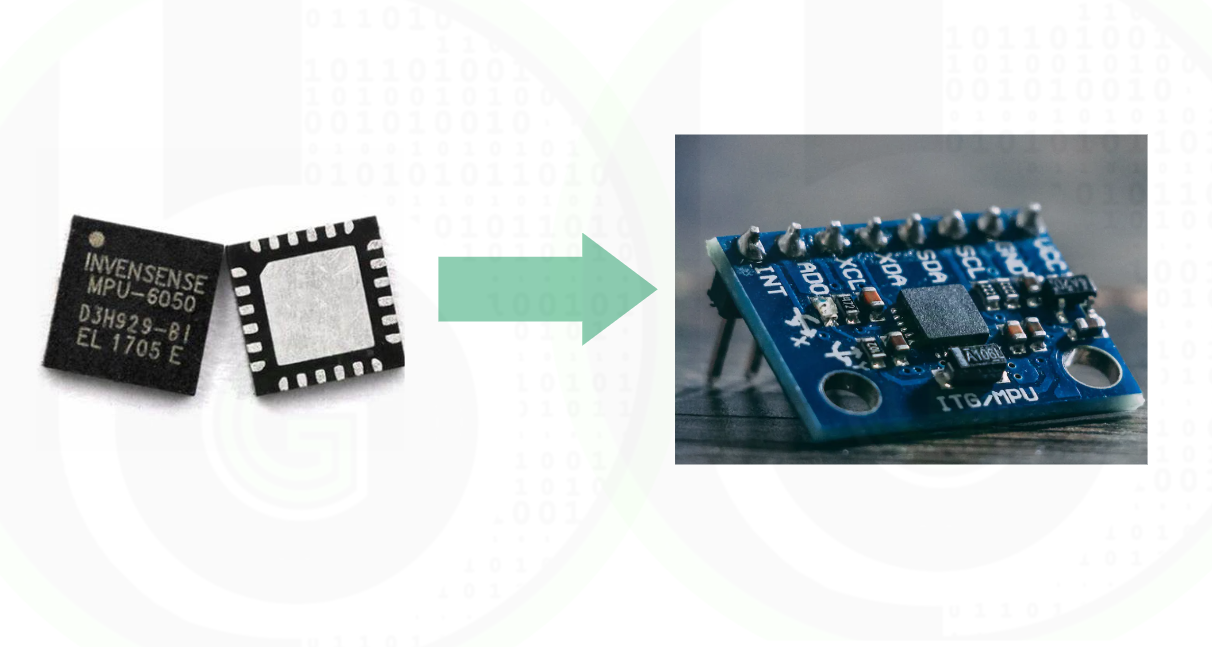
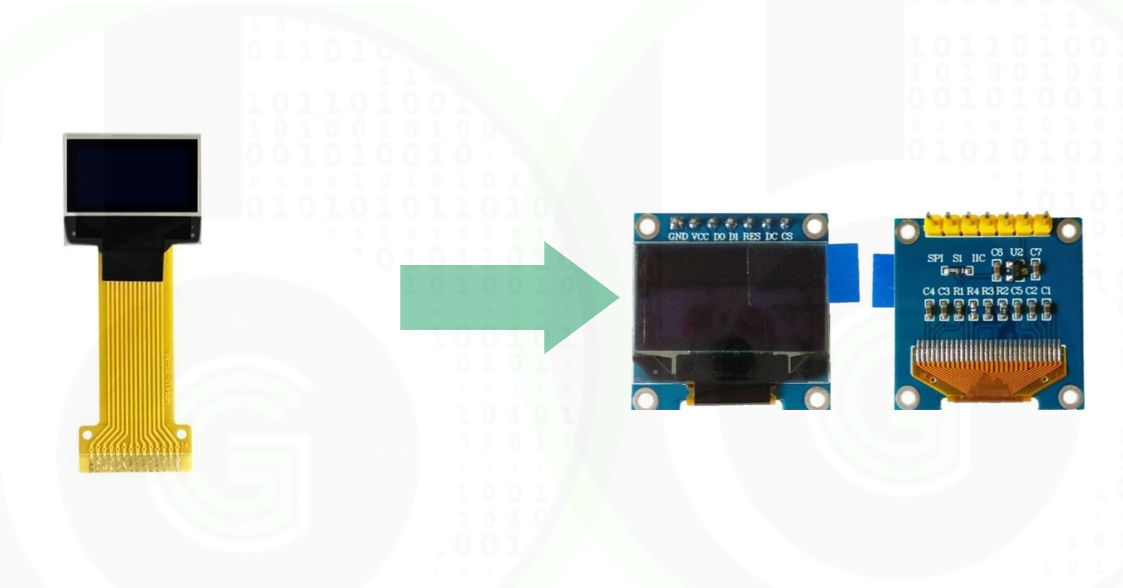
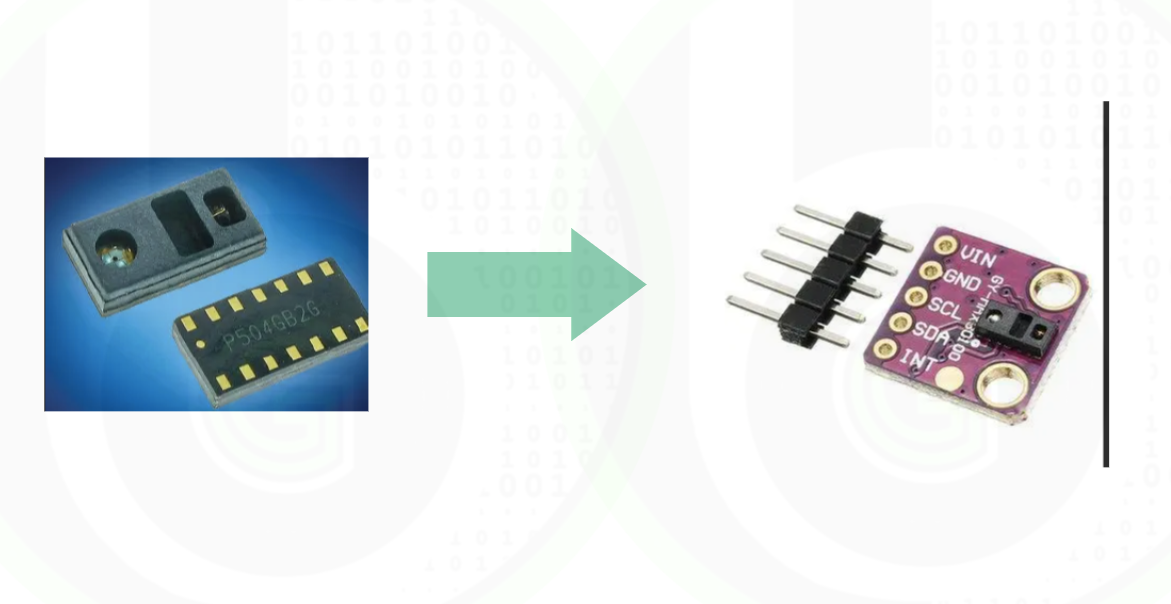
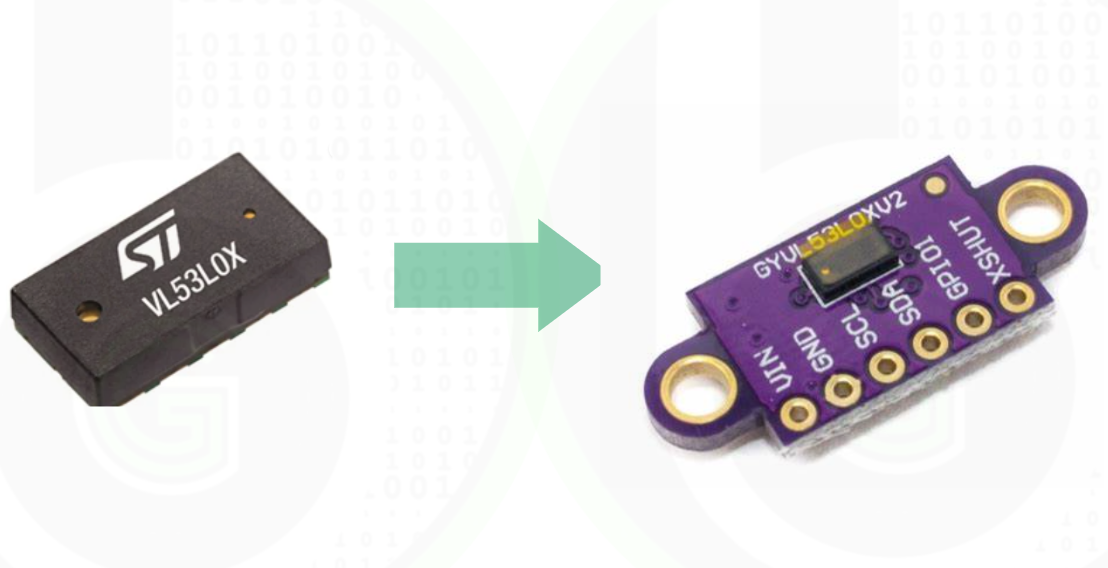
 Just like Microcontrollers need some external circuitry to function and use them. Same way for sensor/modules that are used with microcontrollers, need some external circuit too. For sensor/modules these boards are termed as Breakout Boards. Like for

 For Connecting sensors and modules with microcontrollers, there is need of wires. Those Wires are termed as Jumper Wires. Also, sometimes to make firm and proper connection there is need connectors, to make circuits clean and neat.
To connect Microcontrollers to Host Desktop via programmers/debuggers, their is use of Cables. Multiple type of Cables are used, like USB Type C, mini USB Cables and etc. Depending on the kind of connection given on Development board of MCU.
