So, hello guys, welcome back to the gettobyte YouTube channel. The video you have just seen is the encryption-decryption of an image using Microcontrollers. And that’s what we will implement and learn to do in today’s video.

We are going to explore, how to use cryptography technology in microcontrollers. Will be doing the hands-on activity for encryption/decryption of data and images using the ElecronicsV2 Development board. Encryption/Decryption is the cryptography concept and what we are going to achieve on doing so is to know how to use cryptography technology through microcontrollers.

Now in the repo, navigate to: Peripheral Drivers-> CSEc , here you will see different examples related to cryptography technology in ElecronicsV2 Development board. 
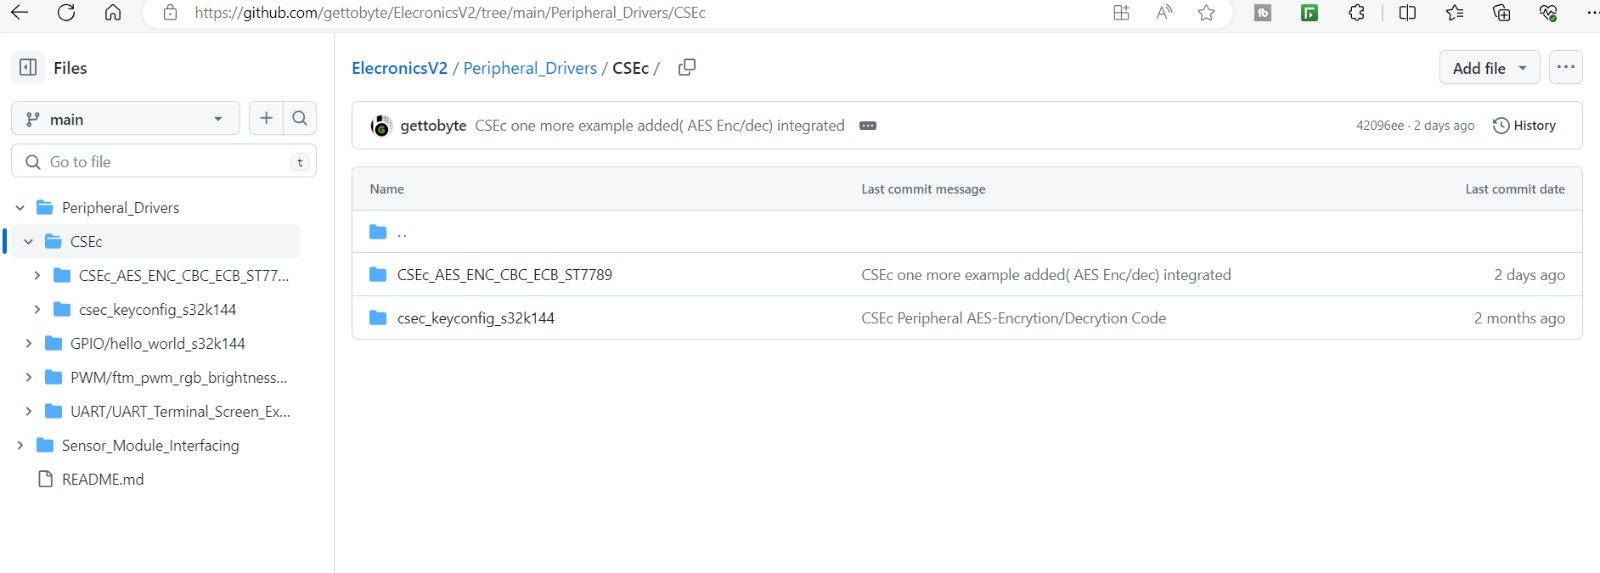
The CSEc_AES_ENC_CBC_ECB_ST7789, is the project for which demo video is shown to you in the starting of the blog. We are going to execute and understand this project.
After cloning the project into your PC, you can see the same folder structure as shown to you at GitHub repo at the path Peripheral_Drivers->CSEc:

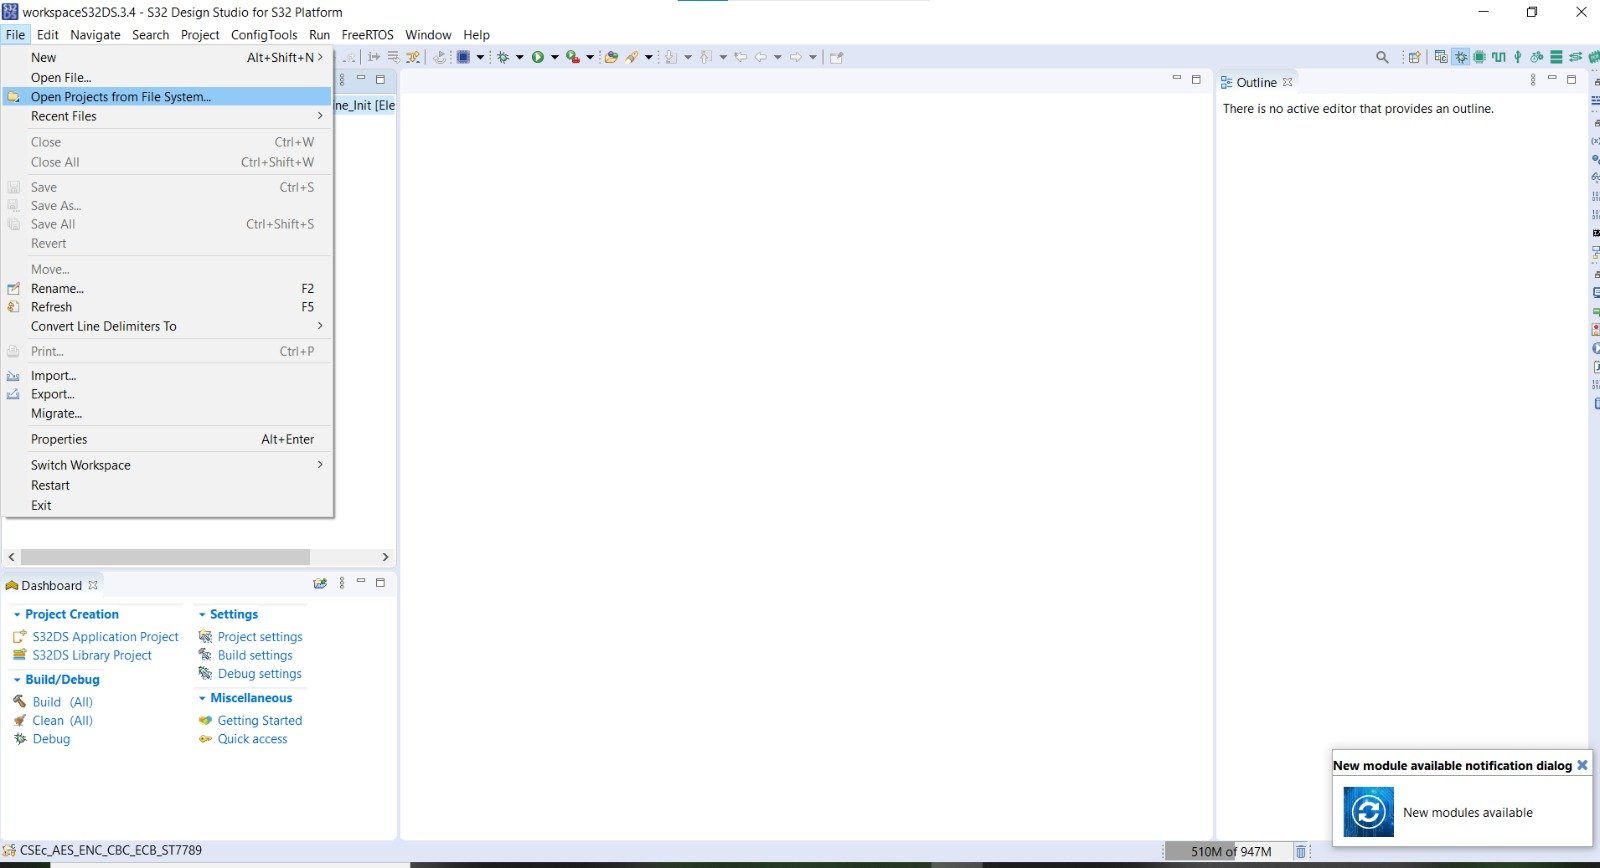
Now open the S32 Design Studio and we have to open the Project CSEc_AES_ENC_CBC_ECB_ST7789 into it. CSEc_AES_ENC_CBC_ECB_ST7789 is already developed code, so to open it navigate to file->Open Project from File System To know how to open already developed project in S32 Design Studio, refer to this blog: Getting Started with S32 Design Studio Part 1 | Gettobyte.
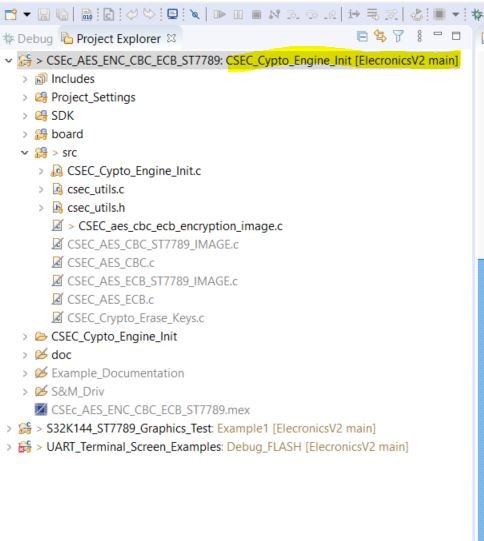
After opening the project, you can see it open in project explorer window of S32 Design Studio.
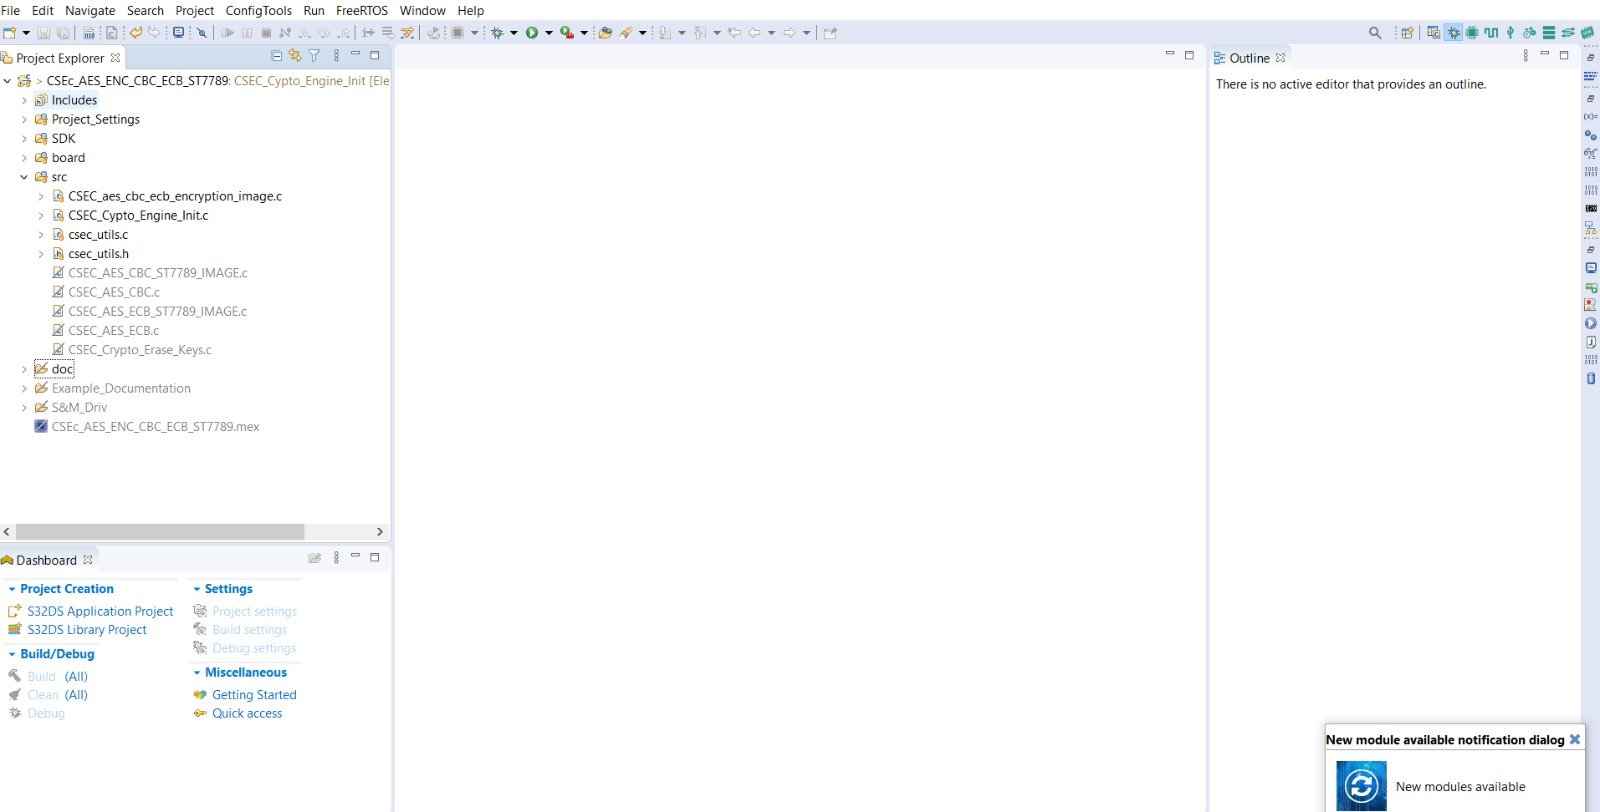
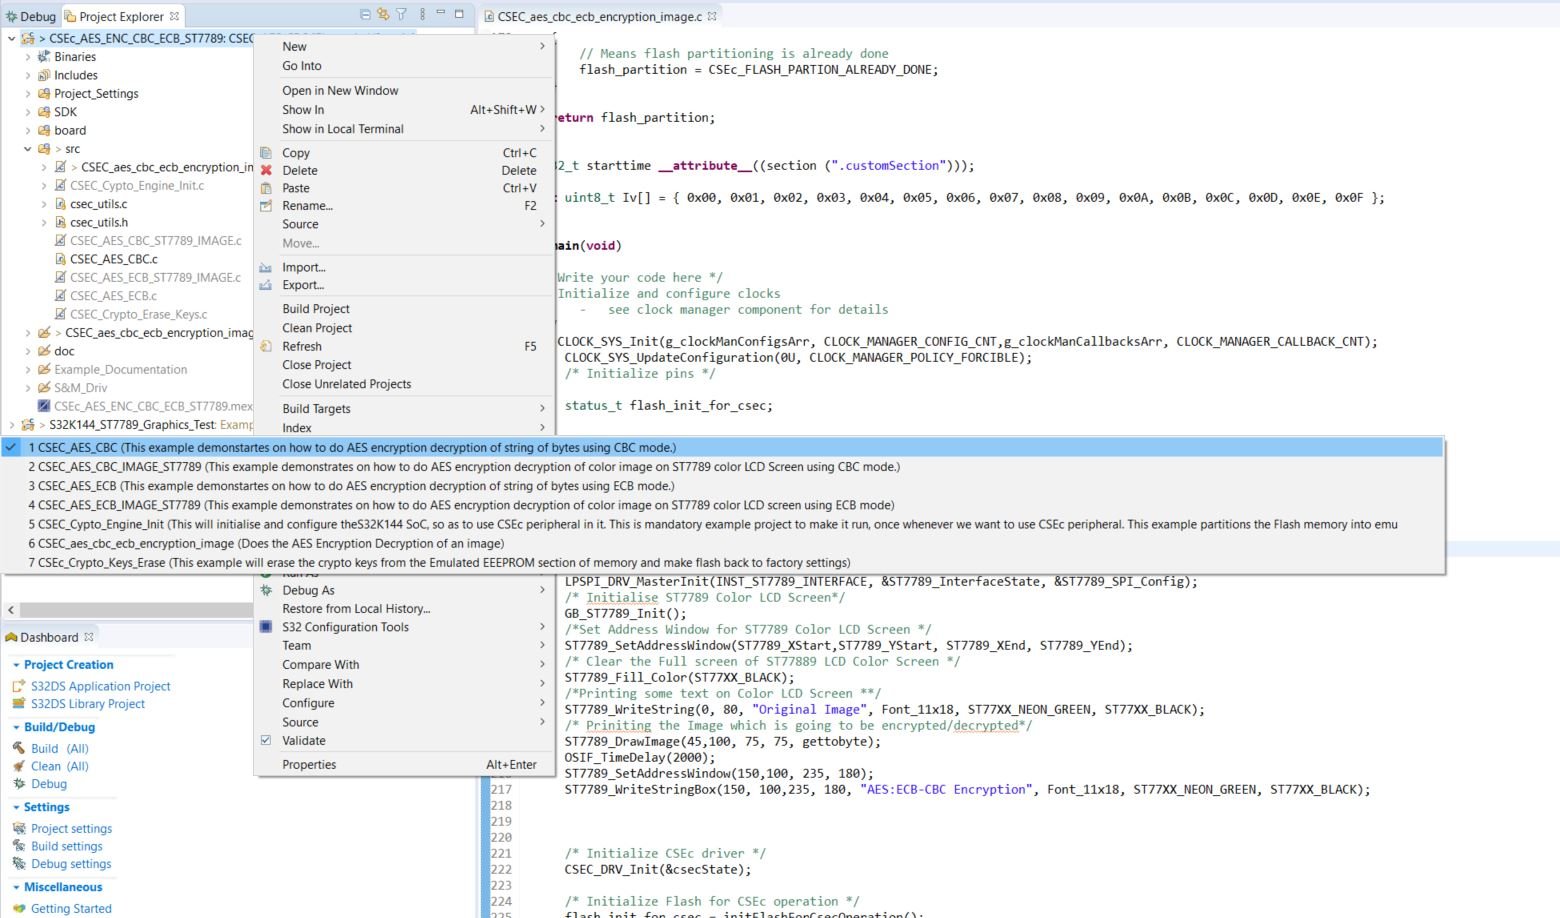
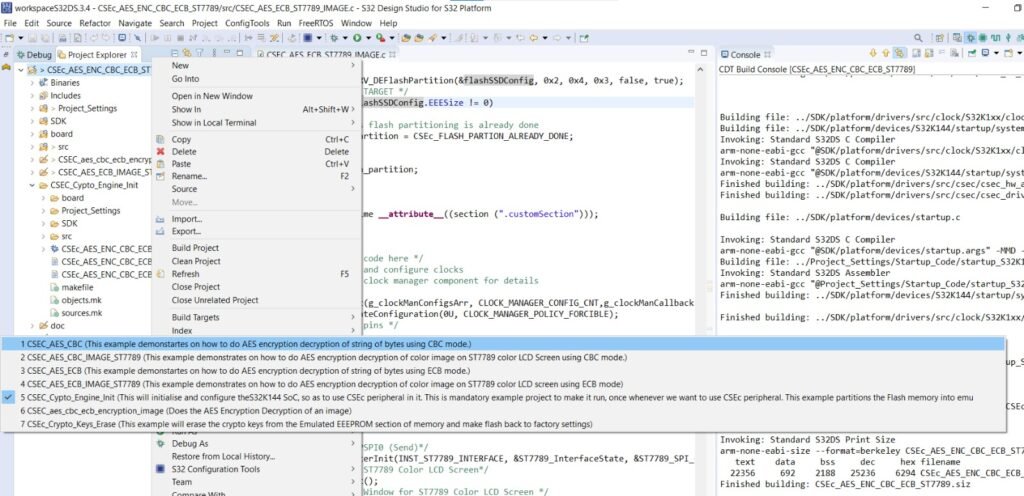
Opening the Cryptography example projects in S32 Design Studio. In this example project you will find 7 projects:
- 1) CSEC_Crypto_Engine_Init:
- 2) CSEC_Crypto_Erase_Keys:
- 3) CSEC_AES_CBC:
- 4) CSEC_AES_ECB:
- 5) CSEC_AES_CBC_IMAGE_ST7789:
- 6) CSEC_AES_ECB_IMAGE_ST7789
- 7) CSEC_aes_cbc_ecb_encryption_image
To Open these projects, Right click on project and go to Build Configurations –> Set Archive
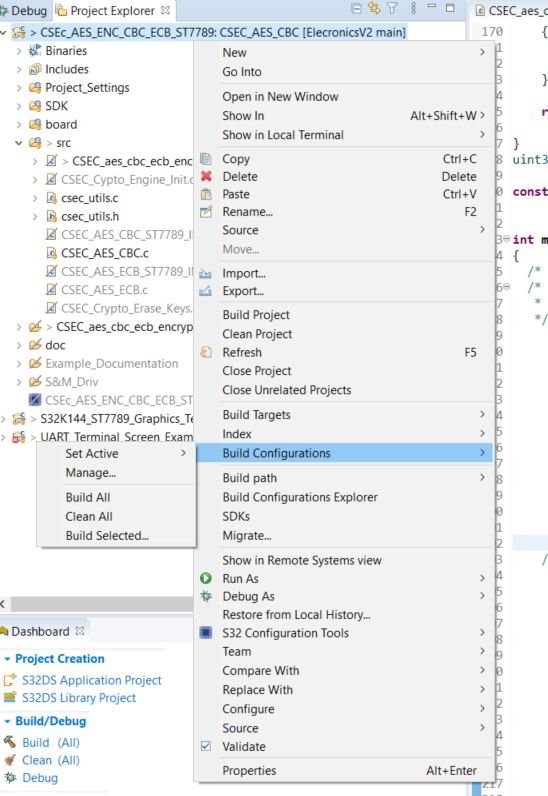
After hovering over the Set-Archive tab, you will see list of all example project:
Select the project, which you want to explore, and you will see its name, adjacent to your project name in the project explorer.
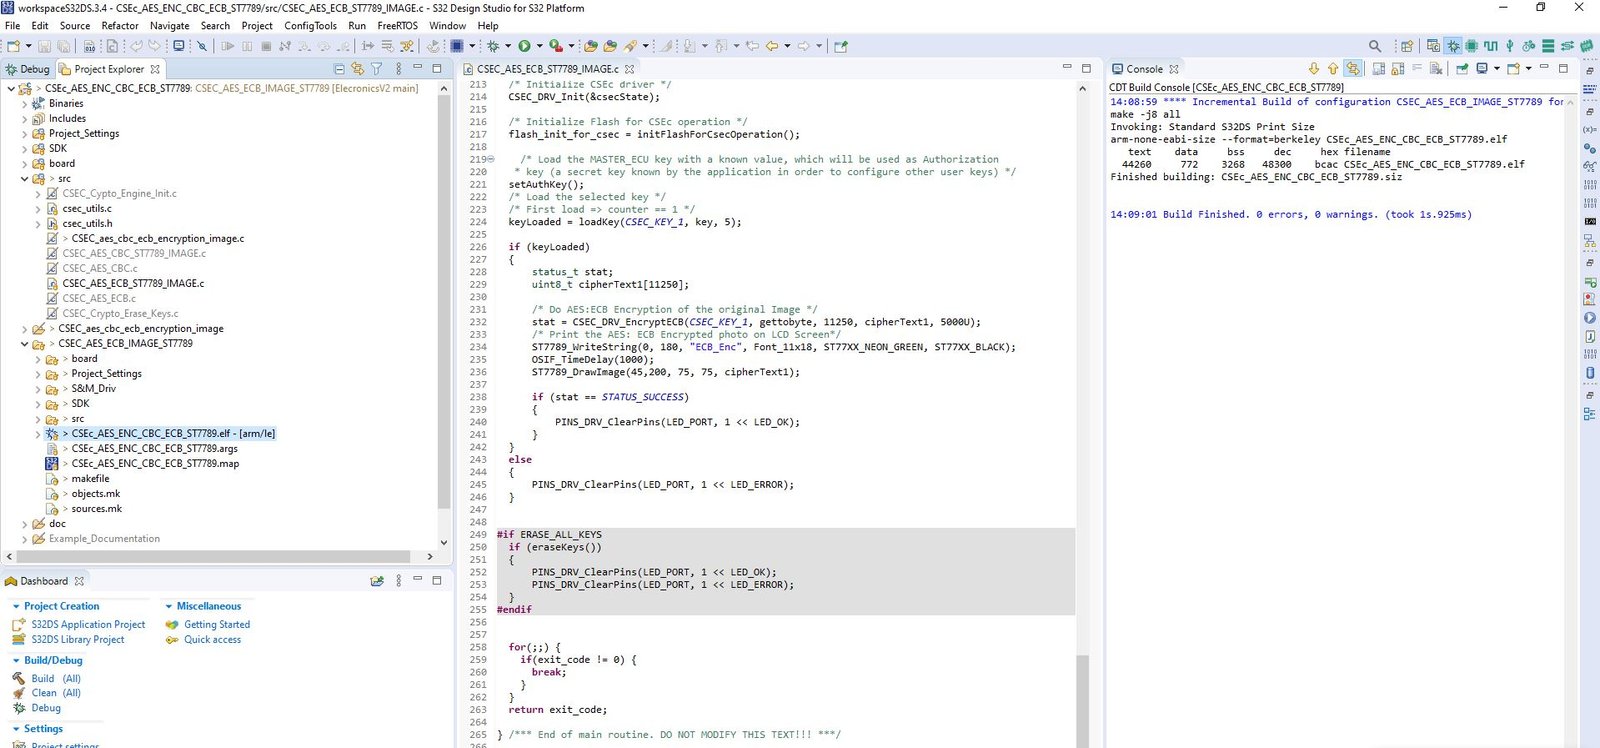
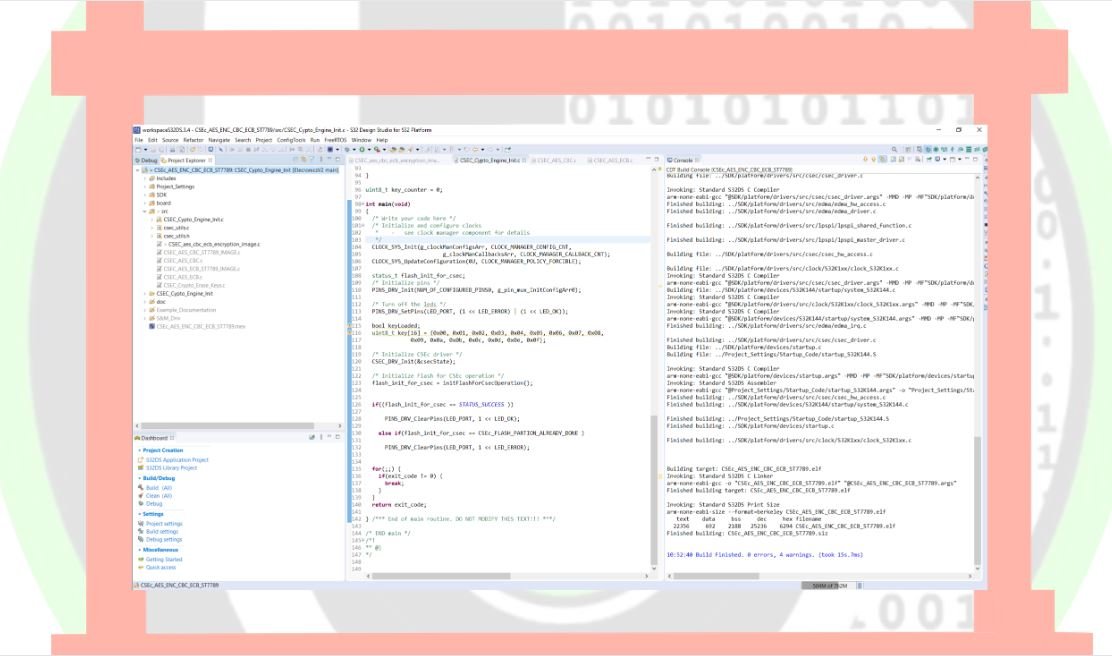
Under the src folder, you will see different .c files. There is one .c file for each of the example projects. By double clicking on the corresponding .c file, you can open that file and explore it
Okay so you have opened your project in S32 Design Studio, now it’s time to build the project. For building the project in S32 Design Studio. Simply click on project name and go to menu as shown in below pic:
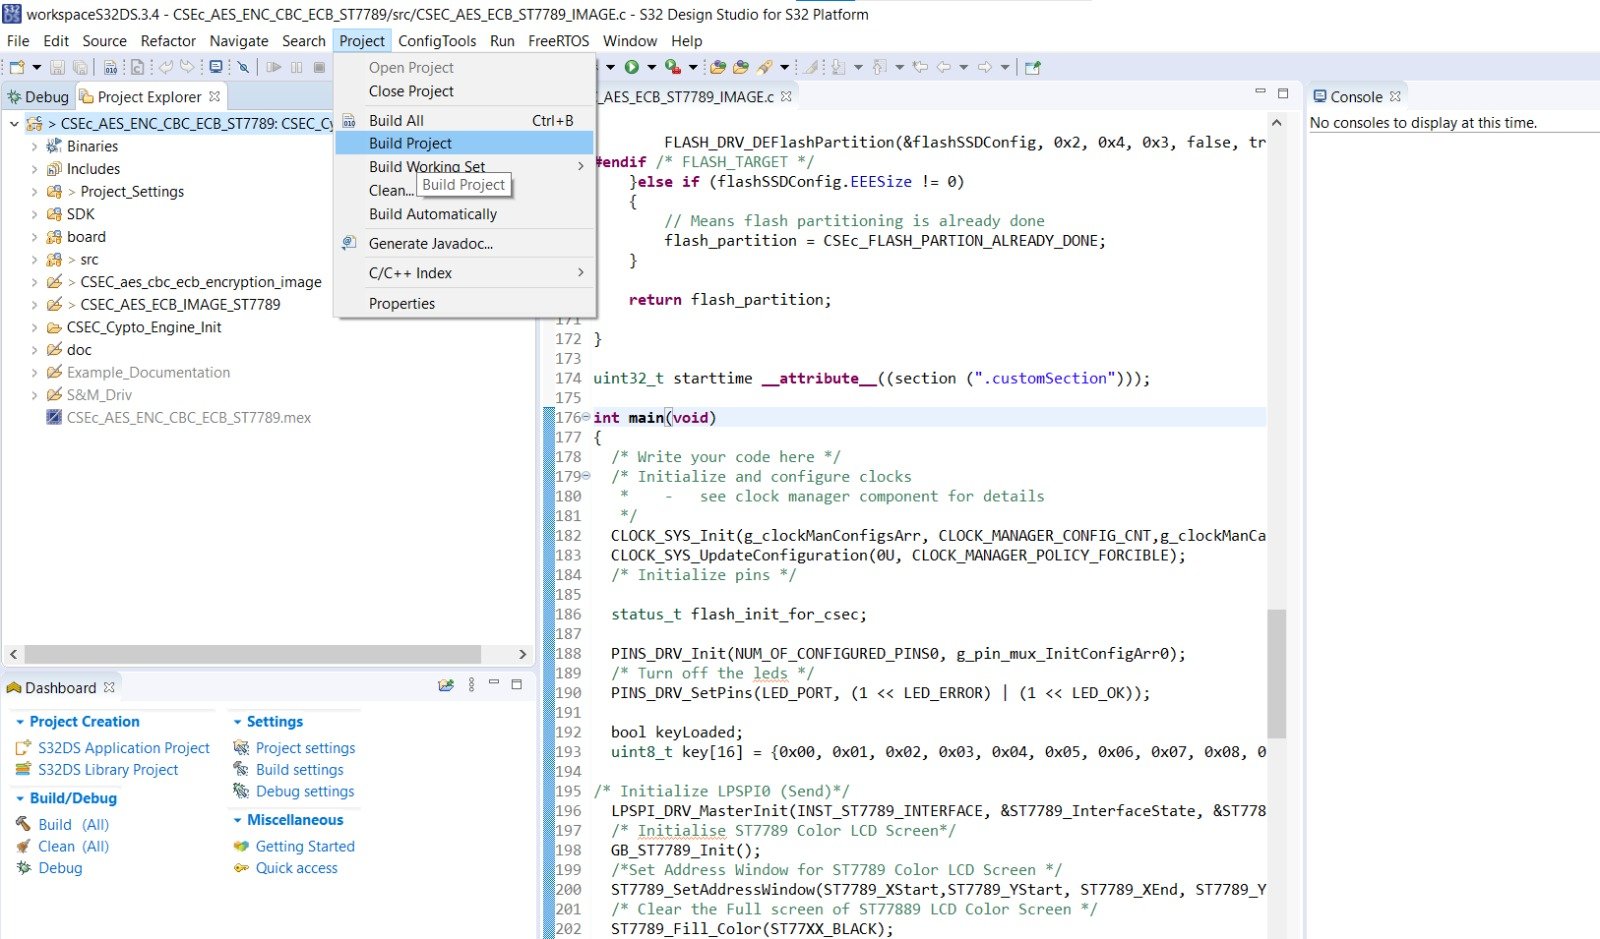
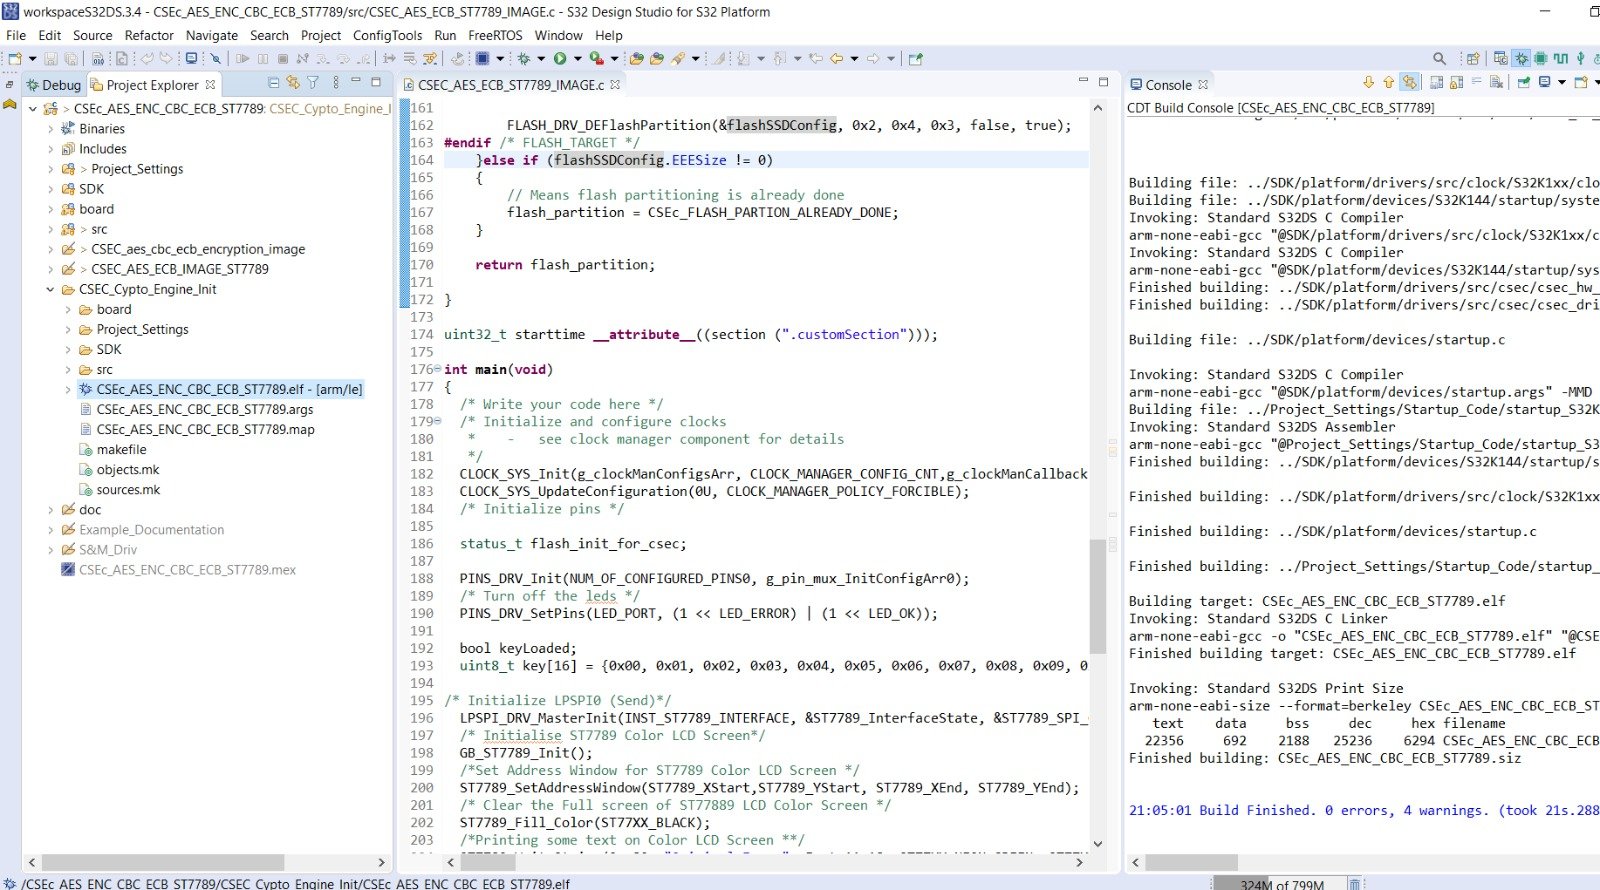
On doing so, you will see a console perspective in which code is compiling.
Some pointers to be taken care of:
- 1) Select which example project you want to build, by Right clicking on project name and then selecting which example to use by going to Build Configuration -> Set Archive:
2) After your project is builded, you will see, a corresponding example project name folder in Project explorer, inside which you will find binary files:

After doing the hardware connection’s, Now we have to do some Hardware Debugger configuration’s in S32 Design Studio IDE so as to detect the debugger hardware tool: JlinkV9 and ElecronicsV2 Board.
For doing so, follow the below steps:
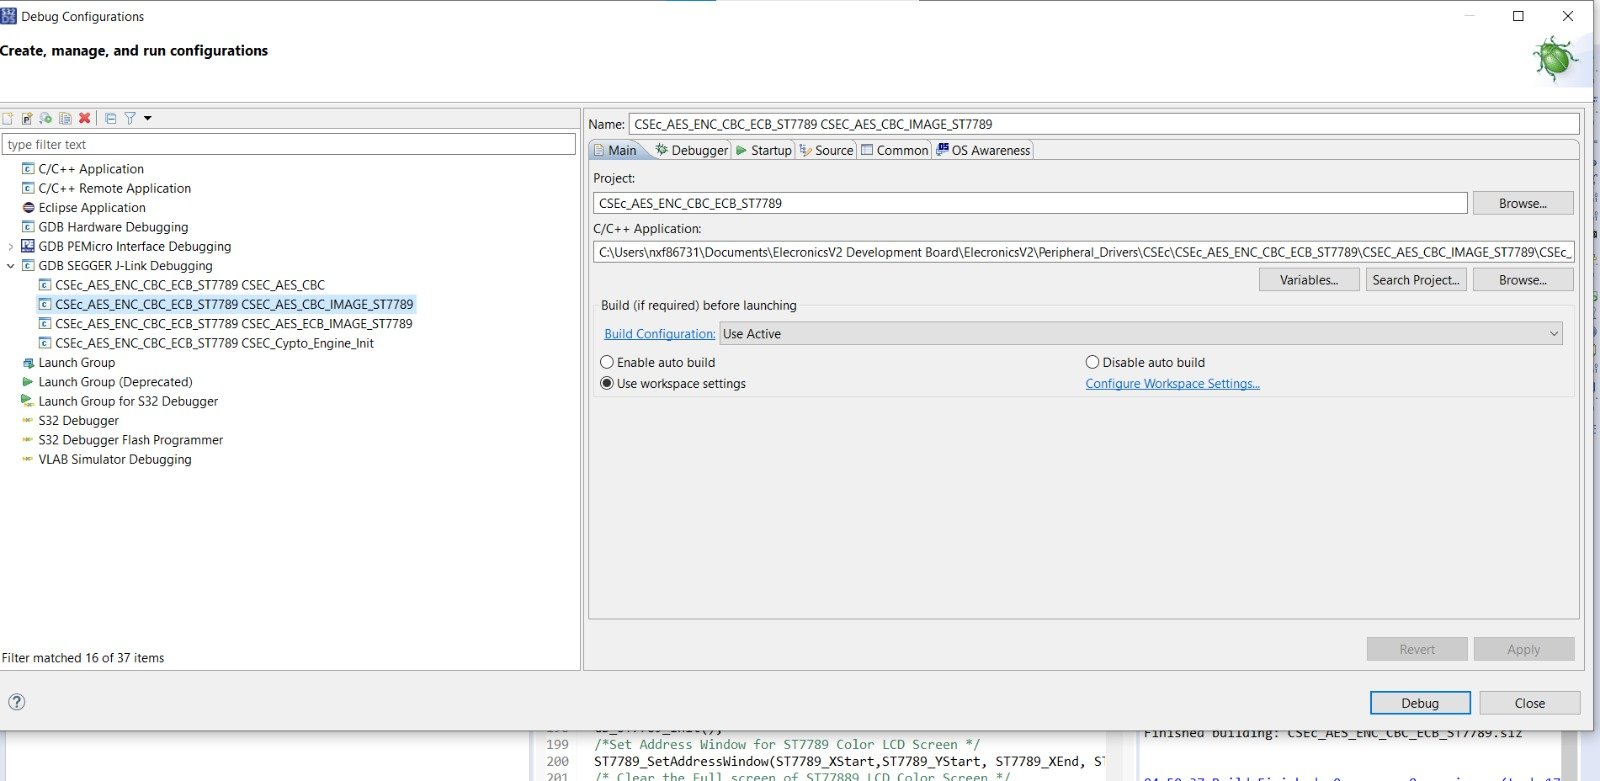
- 1) Open the Debug Configuration Window:

Debug Configuration Menu in S32 Design Studio 2) Now in the Debug Configuration window, you will see list of hardware debuggers that are supported in S32 Design Studio. We will select the GDB SEGGER J-Link Debugging

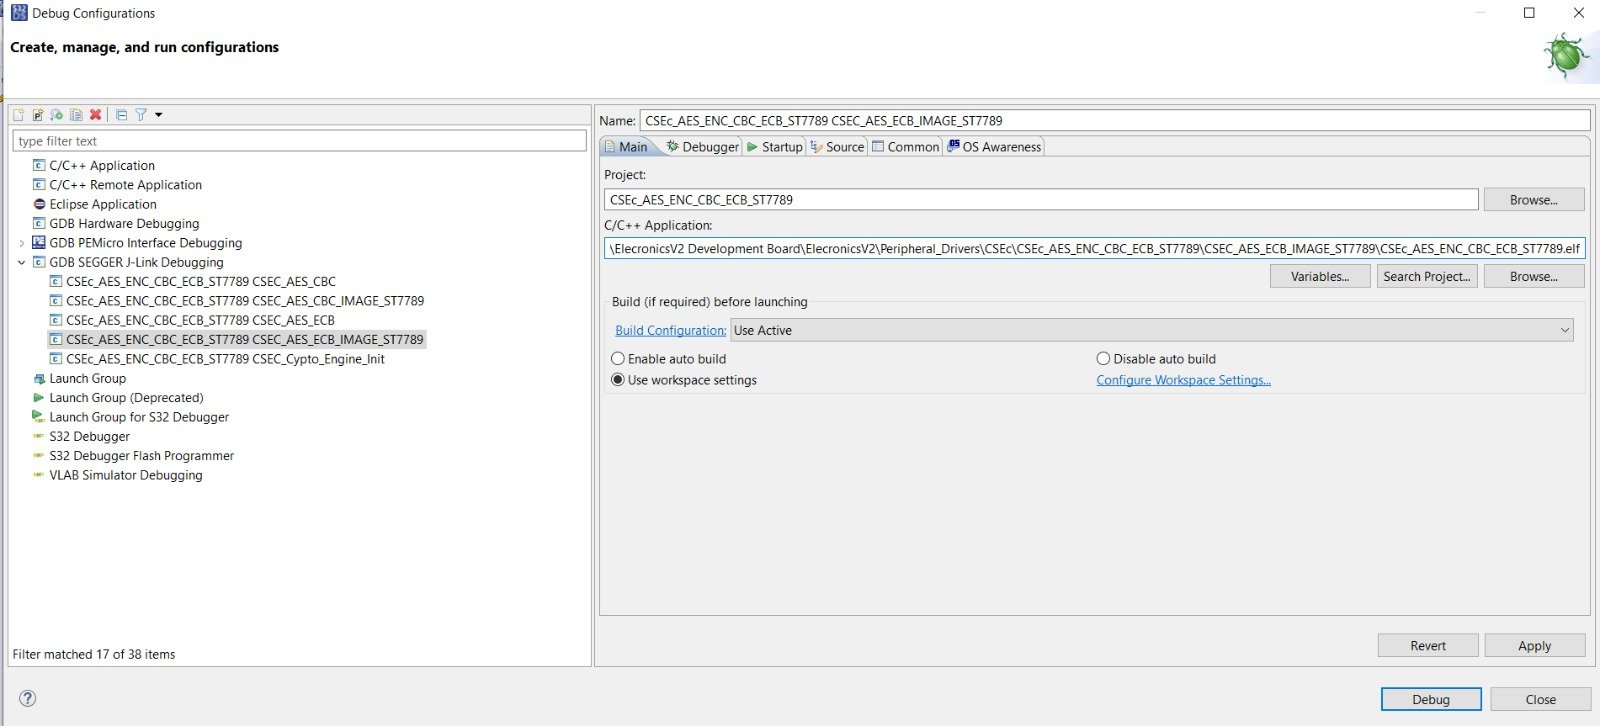
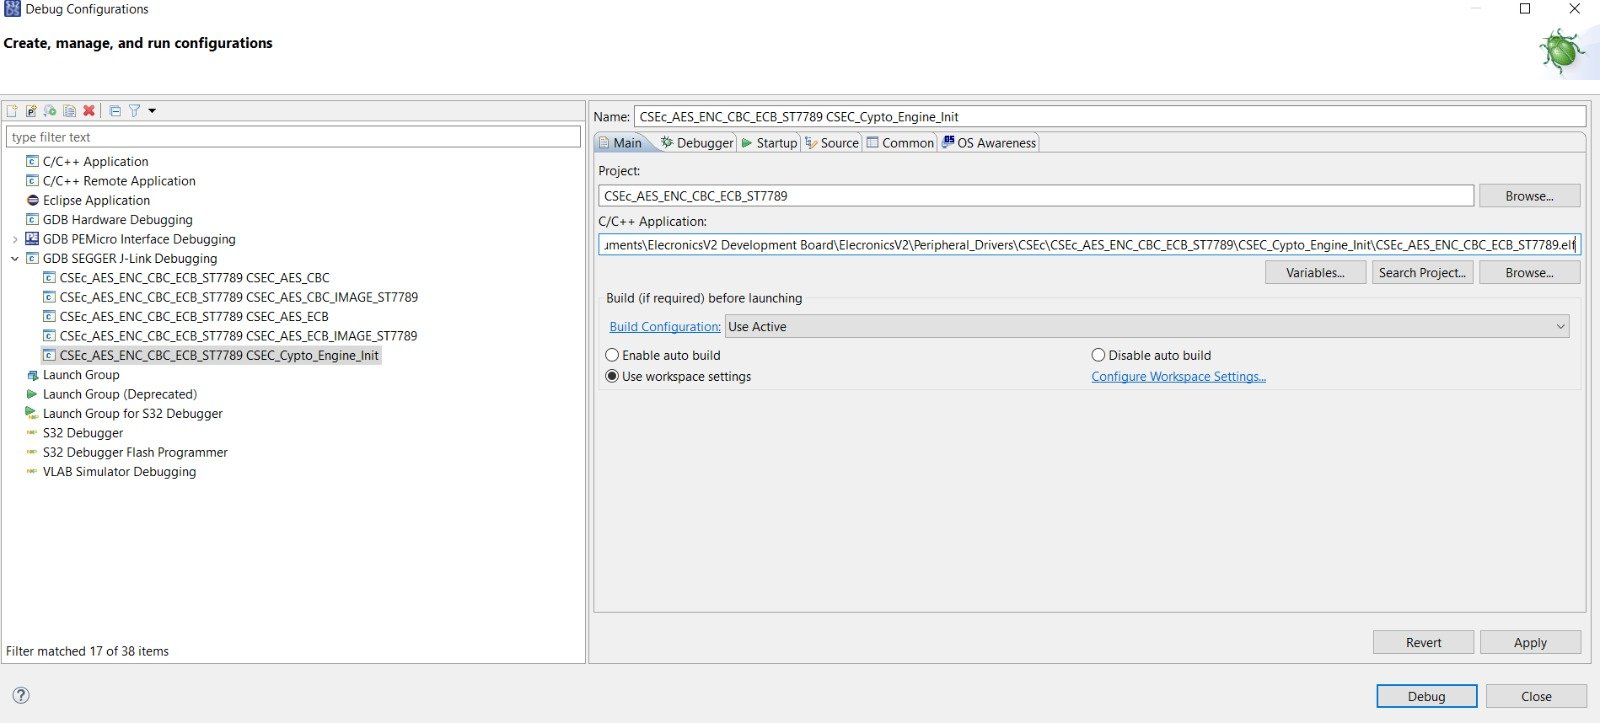
Debug Configuration window in S32 Design Studio 3) After that click on top left icon of New Configuration, after which you will see a new debug configuration of your project is made:
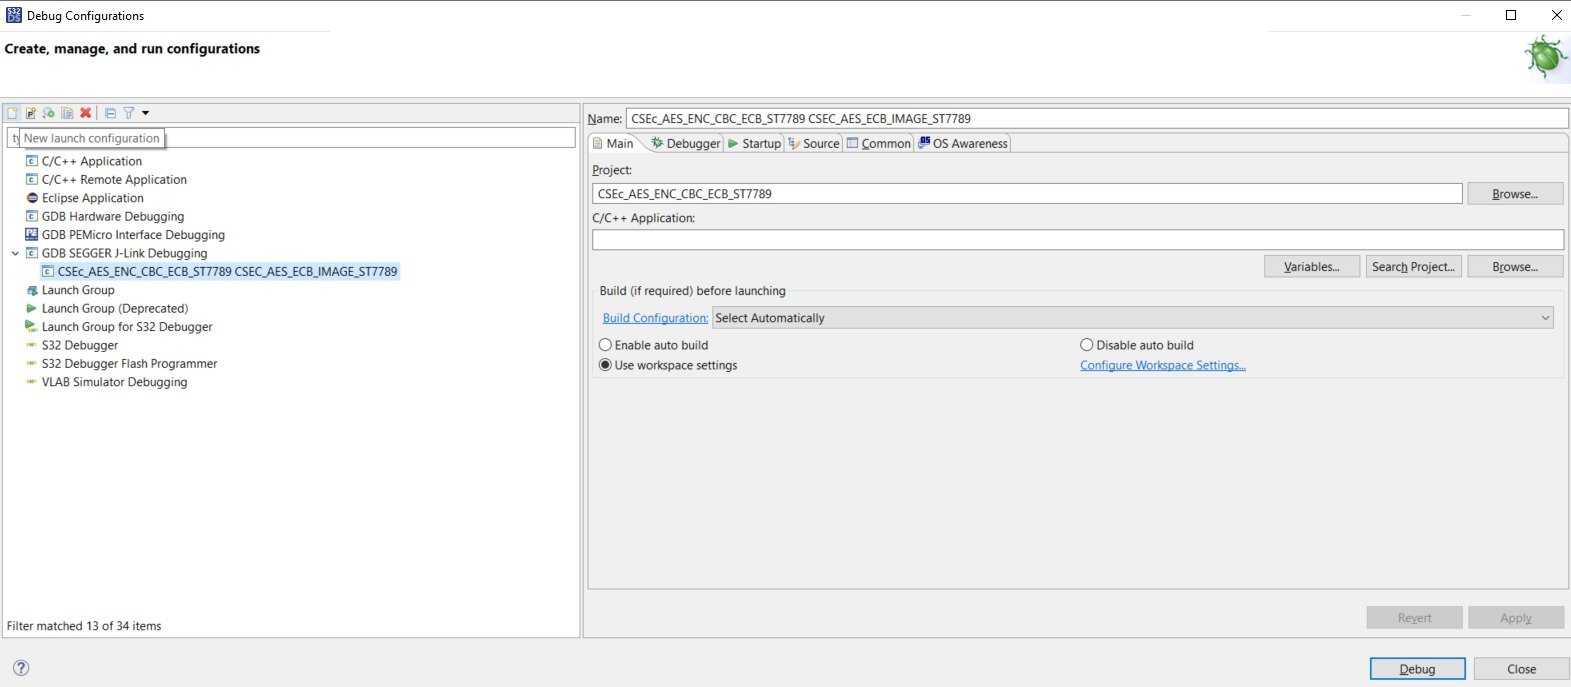
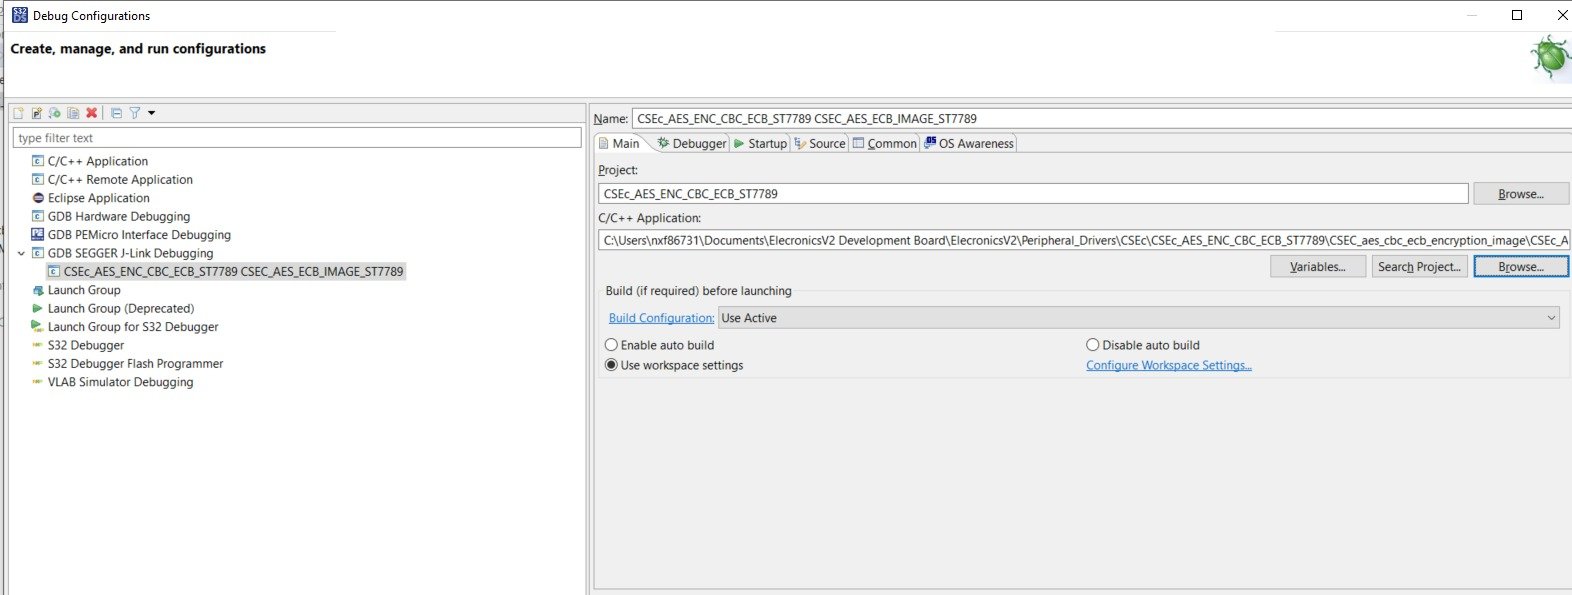
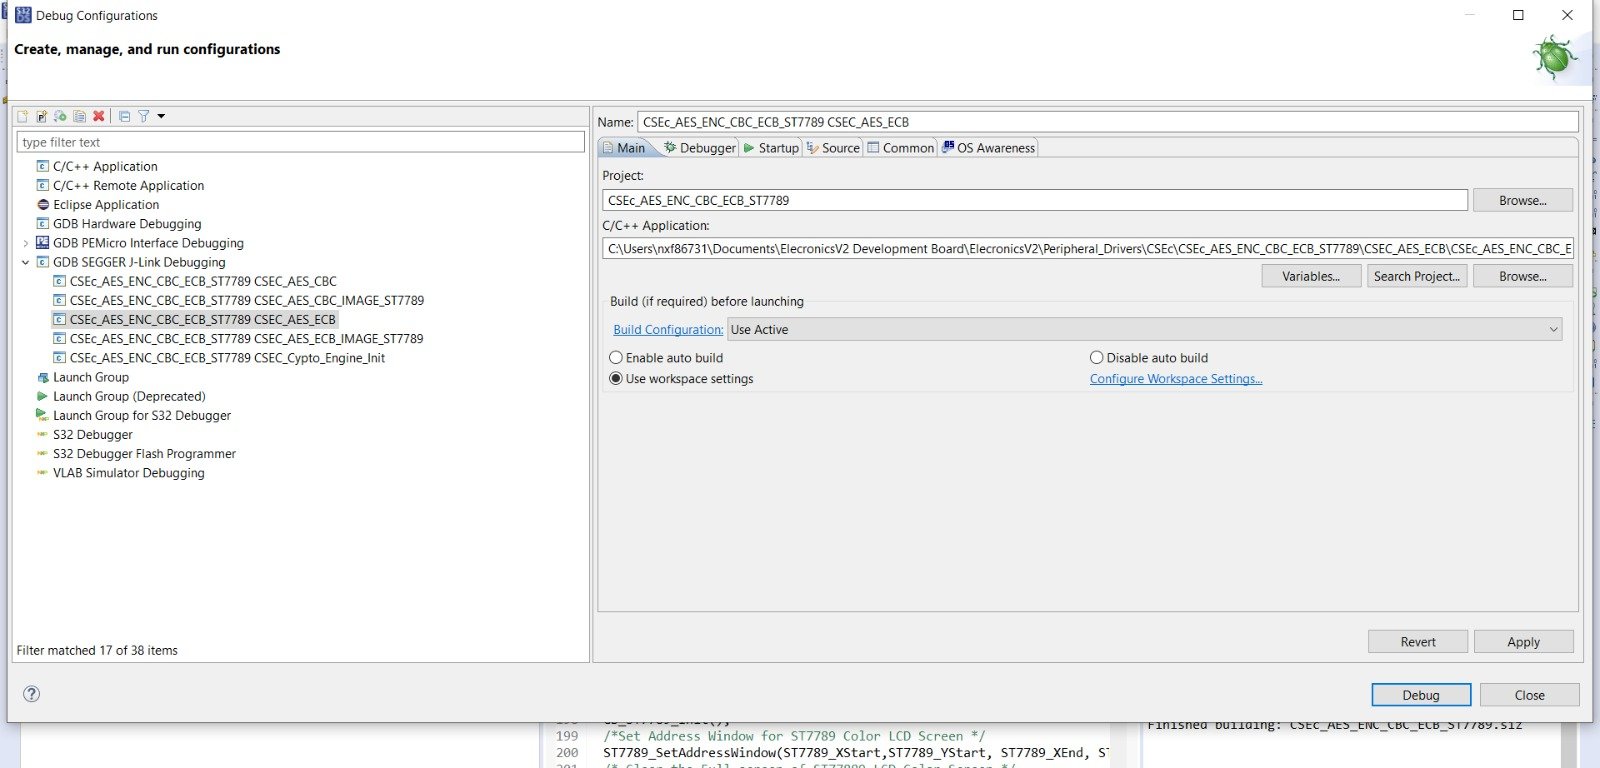
Making Debug configuration of project 4) After that browse the elf file in C/C++ application tab. And select the Build configuration as Use Active.
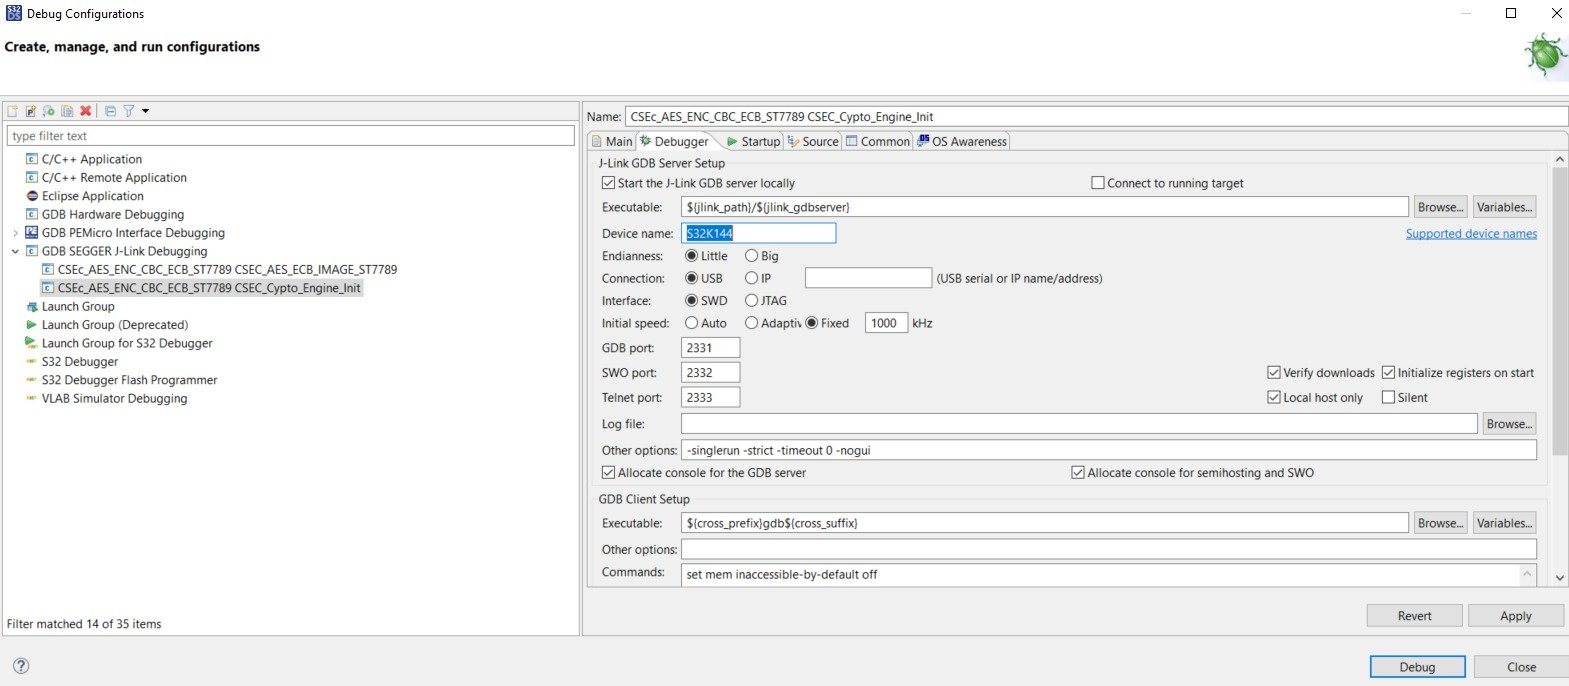
Main tab configuration in Debug Configuration for S32 Design Studio 5) In the Debugger tab of Debug Configuration, you have written the Device Name: S32K144:
These steps will be same for all the example projects. Next steps will only be for CSEC_Crypto_Engine_Init and CSEC_Crypto_Erase_Keys example project.
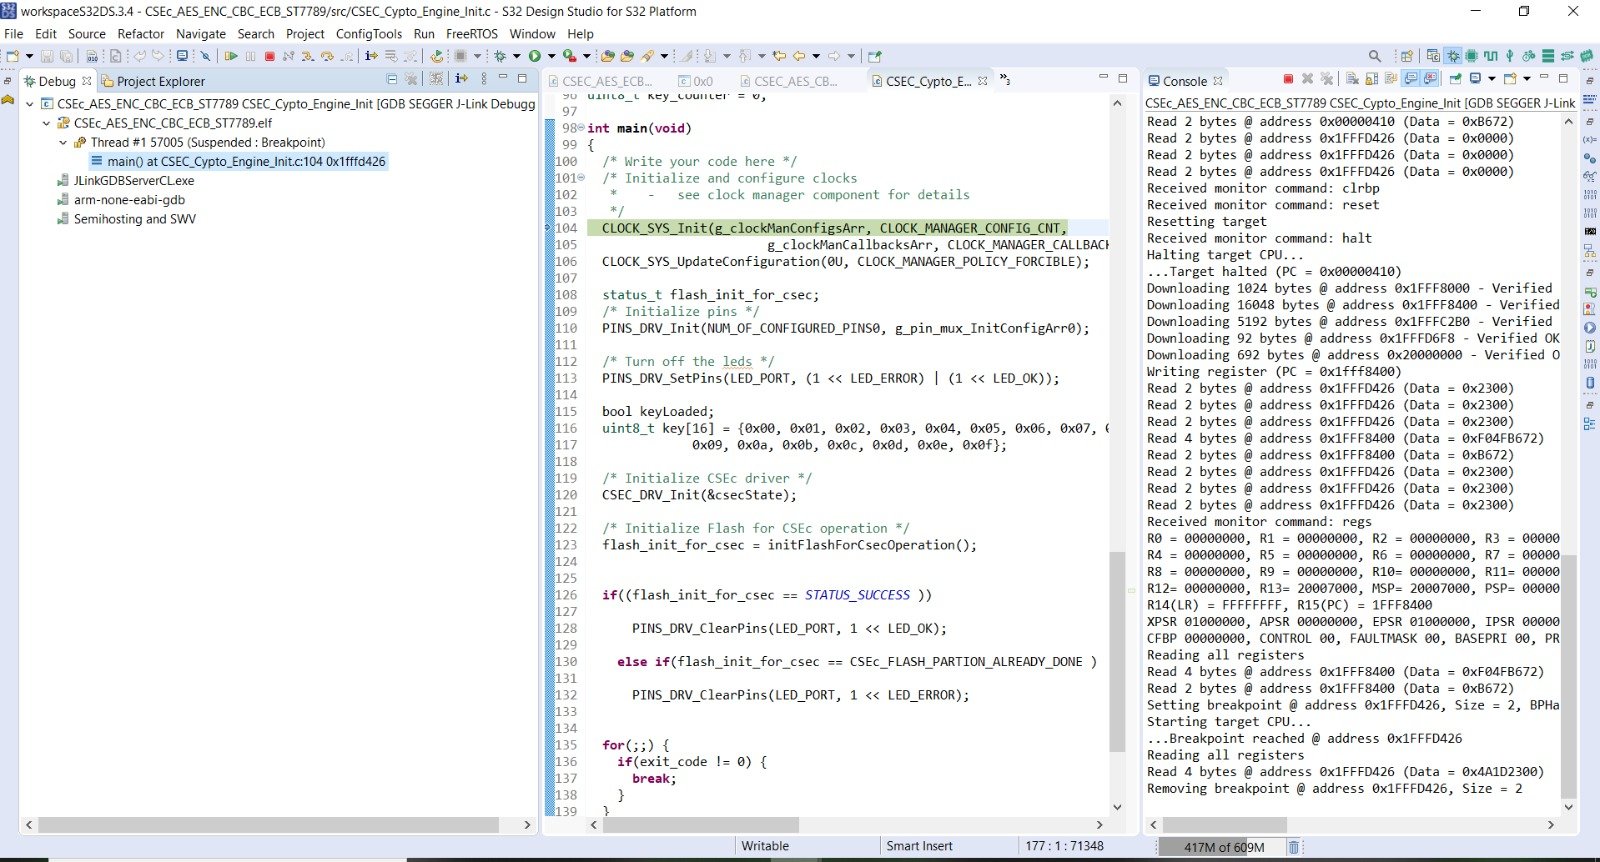
6) In startup tab of Debug Configuration, check the RAM application option. As we have to run CSEC_Crypto_Engine_Init and CSEC_Crypto_Erase_Keys example project from RAM memory of the controller.
After all these 5-6 steps, click on debug and your debug configuration will be loaded and Debug Perspective will started coming up. In the end something like this will look like in the end.
If your this window come’s up and shows to you. Your debugger and all
This example demonstrates on how to do AES encryption decryption of string of bytes using CBC mode.
Now at first compile the CSEC_Crypto_Engine_Init example project. Refer to building the project section, to know how to build the project.

Now after building the example, it’s time to dump the code into ElecronicsV2 and see some action. We will flash the code and debug the code. To do so, do the Debug/Run configuration for this example project in S32 Design Studio as shown below. Refer to Running/Debugging the project session (follow steps from 1-5) to know more in detail.

Expected behavior, after running this example project is that on successfull encryption you will see a green LED turn on
This example demonstrates on how to do AES encryption decryption of color image on ST7789 color LCD Screen using CBC mode.
Now at first compile the CSEC_AES_CBC_IMAGE_ST7789 example project. Refer to building the project section, to know how to build the project.
Now after building the example, it’s time to dump the code into ElecronicsV2 and see some action. We will flash the code and debug the code. To do so, do the Debug/Run configuration for this example project in S32 Design Studio as shown below. Refer to Running/Debugging the project session (follow steps from 1-5) to know more in detail.
This example demonstrates on how to do AES encryption decryption of string of bytes using ECB mode.
Now at first compile the CSEC_AES_ECB example project. Refer to building the project section, to know how to build the project.

Now after building the example, it’s time to dump the code into ElecronicsV2 and see some action. We will flash the code and debug the code. To do so, do the Debug/Run configuration for this example project in S32 Design Studio as shown below. Refer to Running/Debugging the project session (follow steps from 1-5) to know more in detail.
This example demonstrates on how to do AES encryption decryption of color image on ST7789 color LCD screen using ECB mode of AES crypto cipher.
After running the 1st example project, you can run any example project from 2-6. All will work.
Now at first compile the CSEC_AES_ECB_IMAGE_ST7789 project. Refer to building the project section, to know how to build the project.
Now after building the example, it’s time to dump the code into ElecronicsV2 and see some action. We will flash the code and debug the code. To do so, do the Debug/Run configuration for this example project in S32 Design Studio as shown below. Refer to Running/Debugging the project session to know more in detail.
This will initialize and configure the S32K144 SoC, so as to use CSEc peripheral in it. This is mandatory example project to make it run, whenever we want to use CSEc peripheral.
This example partitions the Flash memory into emulated EEPROM. This is one time thing which need to be done so as to use CSEc peripheral.
Now at first compile the CSEC_Crypto_Engine_Init example project. Refer to building the project section, to know how to build the project.
Now after building the example, it’s time to dump the code into ElecronicsV2 and see some action. We will flash the code and debug the code. To do so, do the Debug/Run configuration for this example project in S32 Design Studio as shown below. Refer to Running/Debugging the project session(follow steps from 1-6) to know more in detail.
This example initializes the CSEc peripheral. And there are, 2 expected output possible after running this example:
A) CSEc initialization successful –> Green LED lights up
B) CSEc initialization is already done –> RED LED lights up.
After running this example project, flash memory partitioning to emulated EEPROM would be done, which is very first thing that has to be done to use CSEc peripheral. This is the mandatory example project to run that has to be run on the board.
The first time when running the example on the board, or after a key erase, this example should be run in order to enable CSEc operation.
This example demonstrates on how to do AES encryption decryption of color image on ST7789 color LCD screen using ECB mode of AES crypto cipher.
Now at first compile the CSEC_aes_cbc_ecb_encryption_image example project. Refer to building the project section, to know how to build the project.

Now after building the example, it’s time to dump the code into ElecronicsV2 and see some action. We will flash the code and debug the code. To do so, do the Debug/Run configuration for this example project in S32 Design Studio as shown below. Refer to Running/Debugging the project session to know more in detail.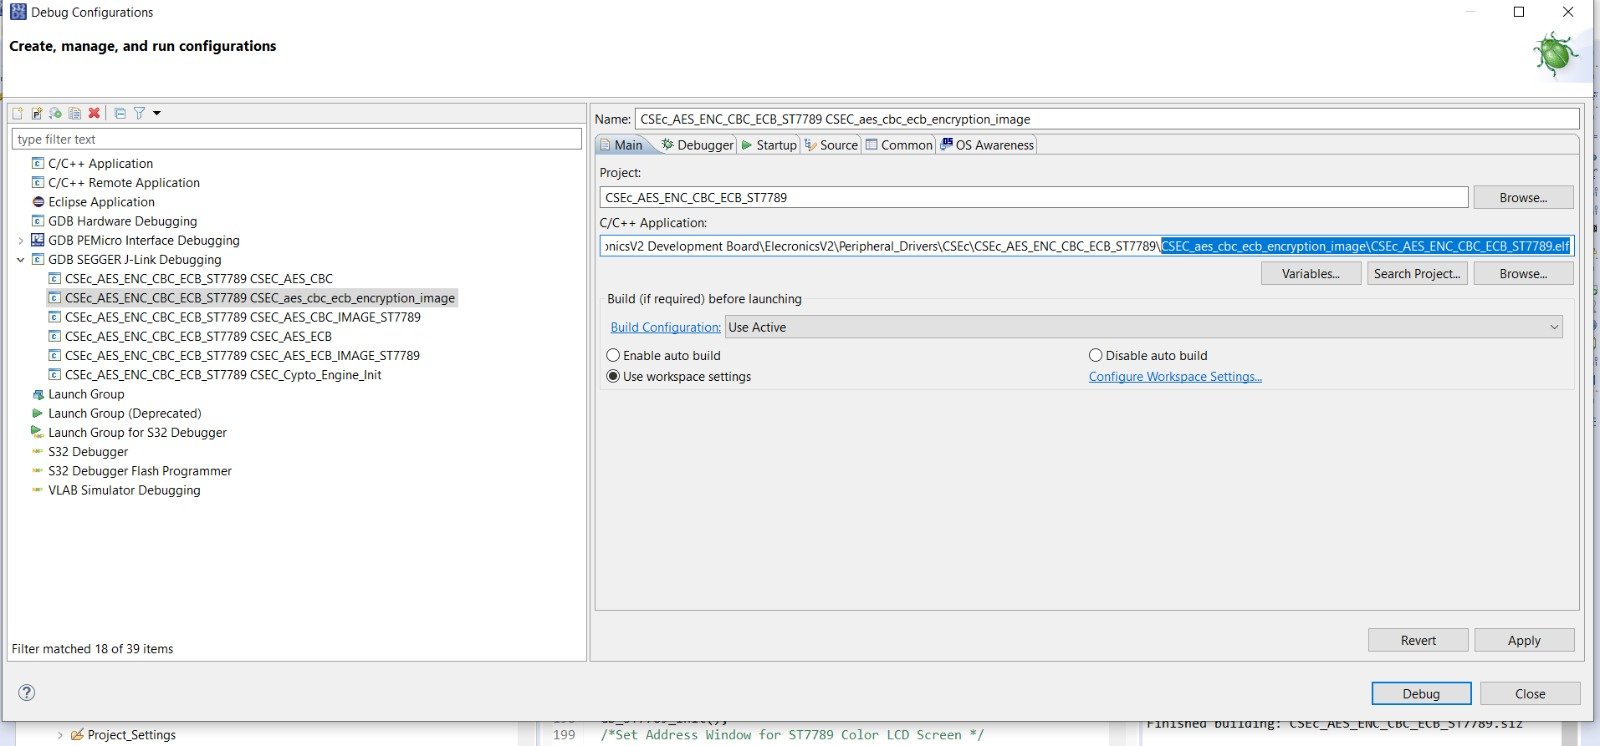
This is the example project, for which video is shown to you initially in the starting of the blog.
To see the text and image printing on ST7789 LCD Screen, make sure that connections to the LCD screen are done properly. Follow this manual, to make the Connections of ST7789 Color LCD screen with ElecronicsV2 Board.
Now Output after running this example project would be:
1) Encryption of image fails: RED LED lights up and on screen only this much is shown:
2) Encryption of image is successfully done: Green LED lights up and on screen both encrypted images are shown.
This example will erase the crypto keys from the Emulated EEEPROM section of memory and make flash back to factory settings.