
This video is in continuation to series of FreeRTOS tutorial blogs, checkout previous blog if you wanna know how to get started with RTOS using FreeRTOS.
Now in RTOS one of the very first things that we do, is TASK creation and then schedule it via the concept of priority wise. After which tasks are executed according to the scheduling algorithm chosen.
If we were to understand in simple terms, TASKS are something that needs to be done. There are multiple tasks running parallel in RTOS but at a time only one task is getting executed(if MCU is single core). It is characteristic of the RTOS kernel which makes us visible that all tasks are running simultaneously. Each task has its own memory, requires the system resources, has its own variables and etc.
So we are going to first implement this thing only, we will see how to create multiple tasks, and how to write Software for each task which will perform some kind of Input/Output action. Then make them run simultaneously by starting the FreeRTOS kernel.
Each task is a small program on its own. Each has an entry point & will normally run forever with an infinite loop. The task function is the entry point where we write the program for corresponding tasks. There is TCB( Task Control Block) which will be having all the information about TASKS. This will be used to debug & understand the tasks creation and working.
Sensor & modules Drivers to run them as tasks in FreeRTOS:
- ESP8266 as Client With HOST MCU.
- W25QSPI Flash memory for logging with HOST MCU.
- INA219 DC Current sensor with HOST MCU.
- HLW8012 AC metering IC with HOST MCU.
- OLED Screen Display with HOST MCU.
- DHT11 temperature sensor with HOST MCU.
Making FreeRTOS project in STM32CubeIDE
At first, we created the project with the FreeRTOS as middleware in STM32CubeIDE. We would be using STM32F103 bluepill as our controller. I hope you guys know how to create a project in STM32CubeIDE, if viewers don\’t they can refer to this video (in the video I have chosen different MCU, you can choose whatever MCU you are using) for that and then come back here.
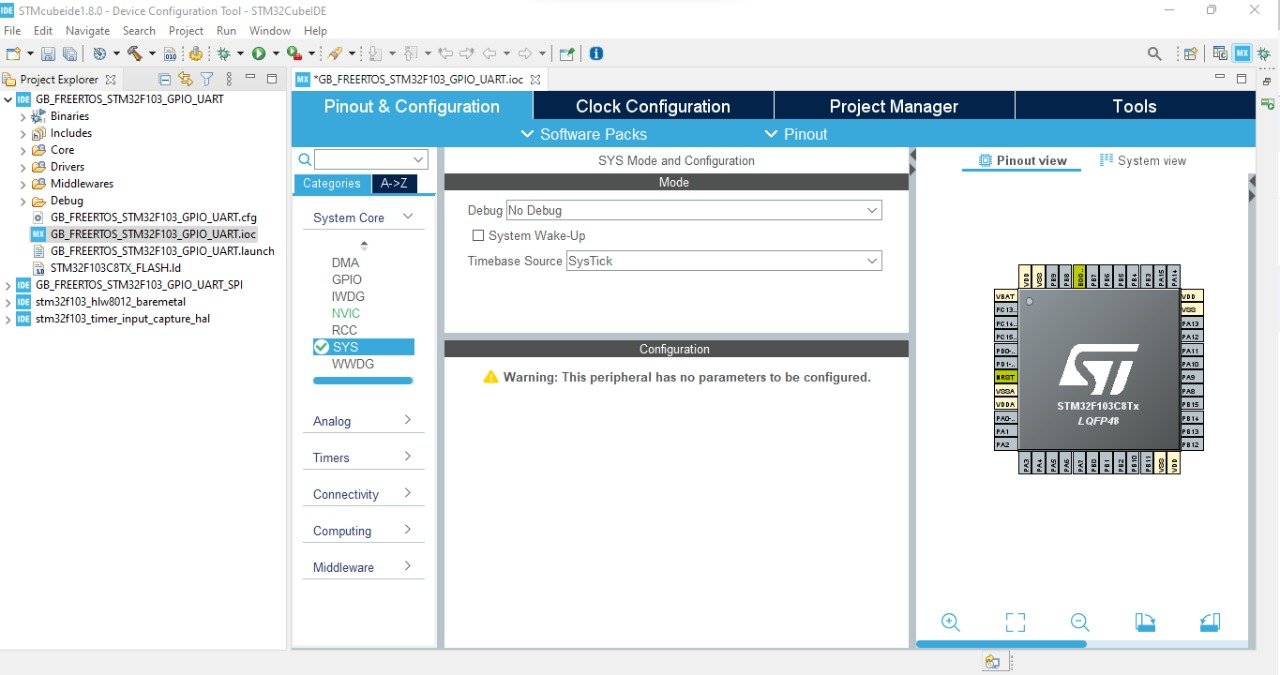
After STM32CubeIDE Project is created, open the .ioc file in your STM32 project directory from the project explorer. 
(I am skipping the basic configuration of RCC and SYS, assuming that viewers already know how to do that. if they don’t, they can have a look from this video.)
Now go to the last section Middleware in the categories of the .ioc file. Select the FreeRTOS. Select Interface as CMSIS_V1. 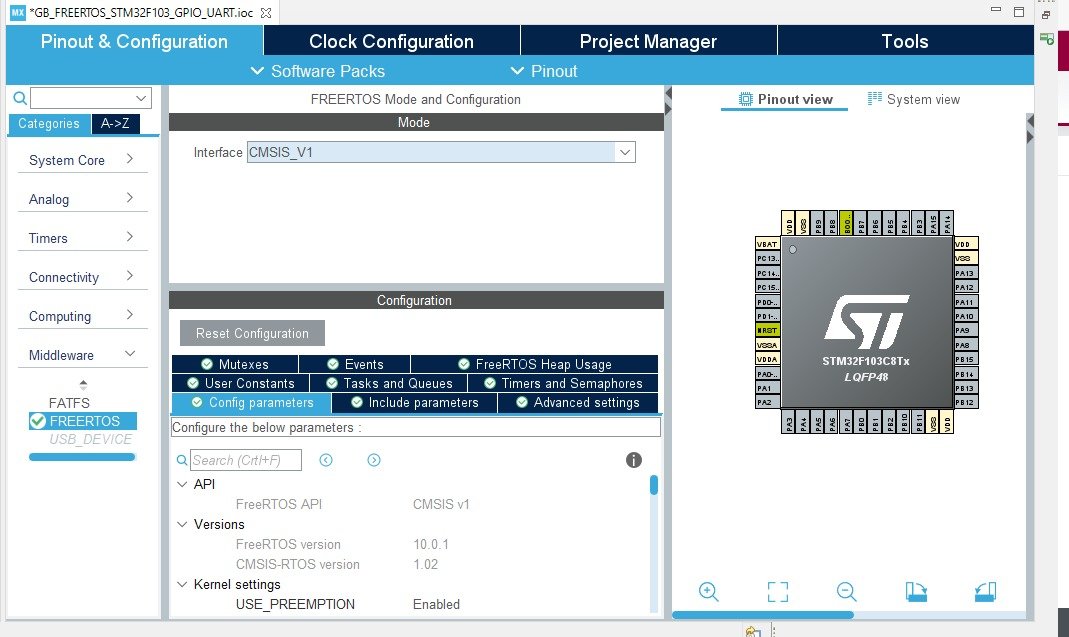 Now you can see in the configuration there are many heading with the name of RTOS components. So, from here, we can configure our FreeRTOS directly in a GUI-based way, thus I started with STM32CubeIDE as it becomes easy for beginners to start with FreeRTOS. Now seeing the headings for beginners, it might be confusing which components are used when and for what purpose. If you have read the PDF on RTOS which i have mentioned in my previous blog: Starting with RTOS: FreeRTOS | gettobyte, you would be having a rough idea of these headings.But for now, we would only be focusing on the Tasks and Queues heading, which is used for the creation/management of tasks and queues. As in this blog, we are only creating tasks, so we would be creating tasks for now and understanding how to configure their different parameters. Don\’t worry!!, we don\’t need to learn all things at one time.