I assume if you are here to do projects on Atmel studio using embedded c then you are familiar with Arduino IDE. If not then I would recommend you to get familiar with Arduino IDE because it will build a basic foundation you need to get started. Arduino IDE will make it easy for you to relate variables, functions, etc.
How to execute our first code on Atmel studio
These are the steps you need to follow to run your first code.
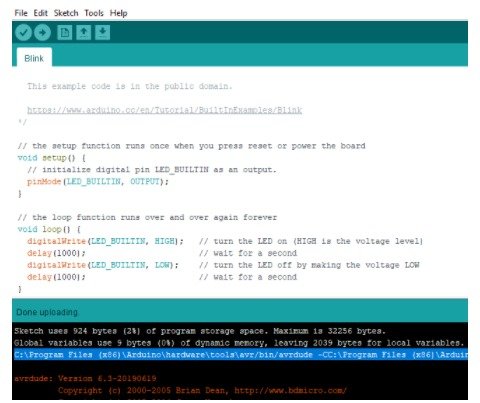
- Open your Arduino IDe and copy the path I’ve shown below. For this, you need to scroll up. At the top, you will find it.
- Copy that path and paste it somewhere as I have pasted it in notepad++.
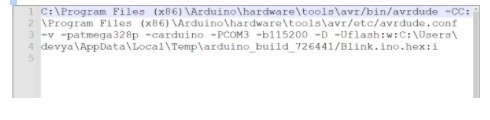
- You can see I’ve made a few changes in that path you need to do the same.

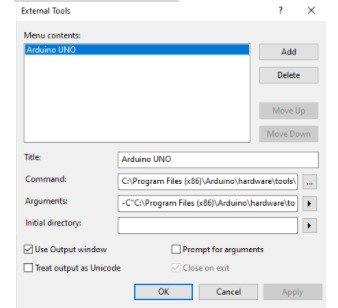
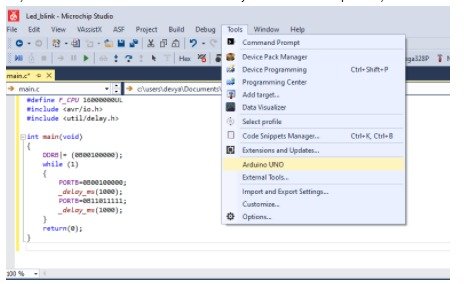
- Now go to tools and open external tools.
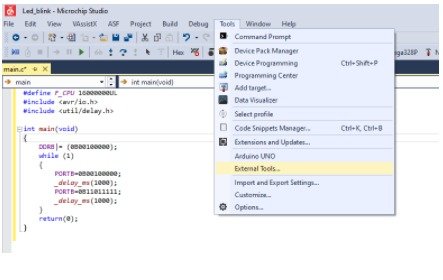
- Here writes the name of the Board you are using as I am using Arduino Uno. Paste the commands in the command section and arguments in the arguments section after making the necessary changes and then click OK.
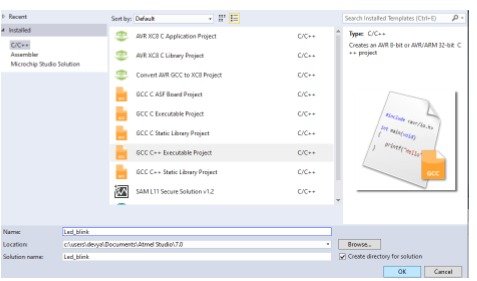
- Now Go to file and create a New Project. Write the name of your program and select the compiler I’ve selected. After selecting the compiler press OK.
- Here you can see numerous microcontrollers. Now you need to select the one you are using.
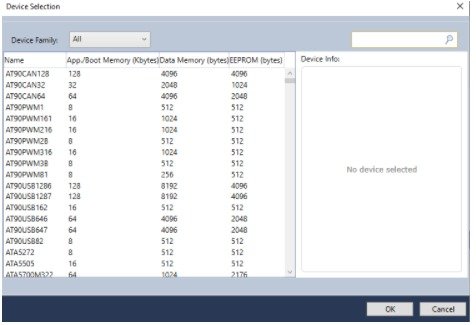
- The microcontroller I am using is Atmega328p. Instead of searching, you can also write it in the search box. It is at the top right corner.
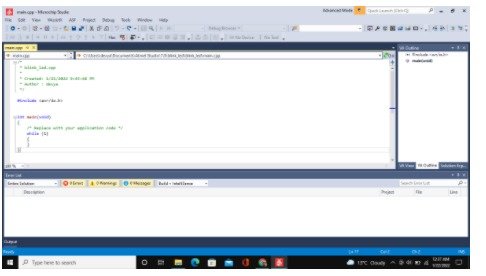
- Great! Your main.cpp file is open and nowhere you can start programming and making super cool projects.
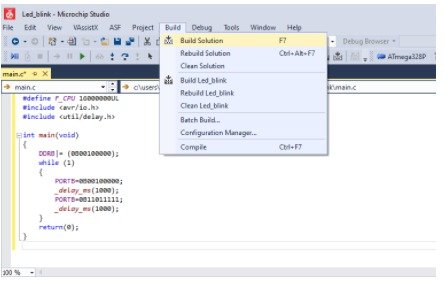
- After writing your first program click on build -> build solution.
- Go to tools and select the External tool title you have saved in point 5).
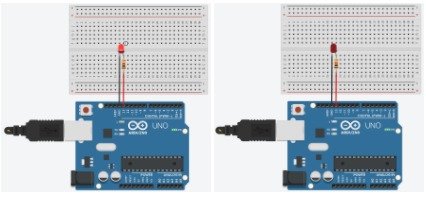
 Here to run this code you just need to plug in your Arduino board and make a circuit for blinking LEDs, the same as you must have done while working on Arduino IDE. For reference, you can see the output.
CODE
#define F_CPU 16000000UL #include#include int main(void) { DDRB|= (0B00100000); while (1) { PORTB=0B00100000; _delay_ms(1000); PORTB=0B11011111; _delay_ms(1000); } return(0); } /* This is just a demo code so that you can confirm that your code is running properly. For now, you don\'t need to worry about the code or what is happening inside. I will share the link down below for the same. */
OUTPUT